
touchSMS for New Outlook – User Guide
1. Install and Connect the App
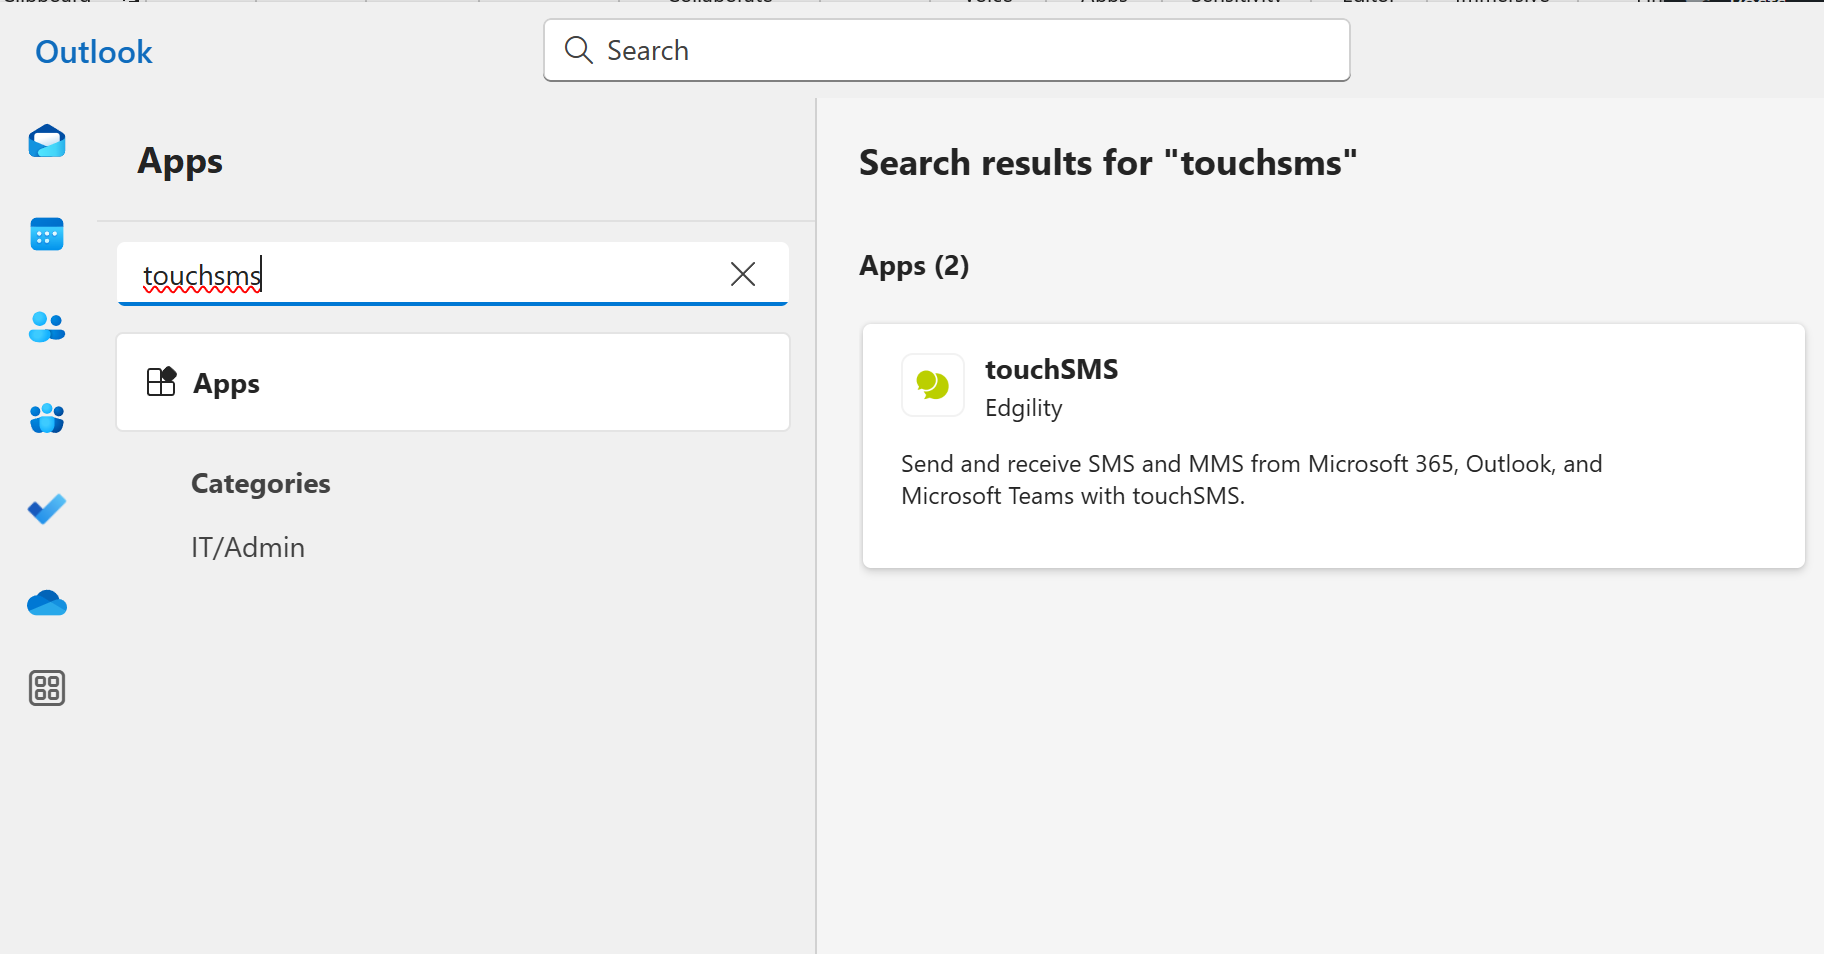
Open Outlook and navigate to Apps
Search for touchSMS and click ADD to install
This will install the touchSMS sidebar and SMS App for Outlook.
touchSMS Sidebar
The sidebar is great for SMS management within your inbox.
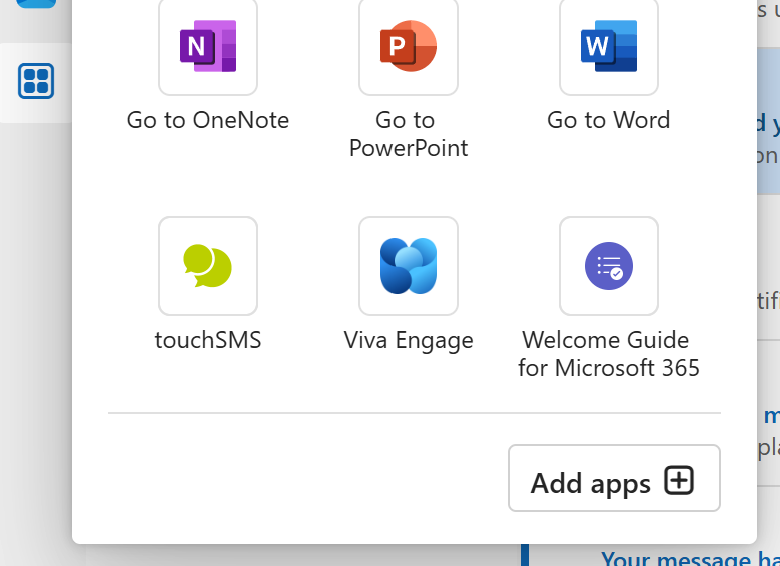
Apps now appear in the email preview top menu – click the Apps Icon and select touchSMS to connect.
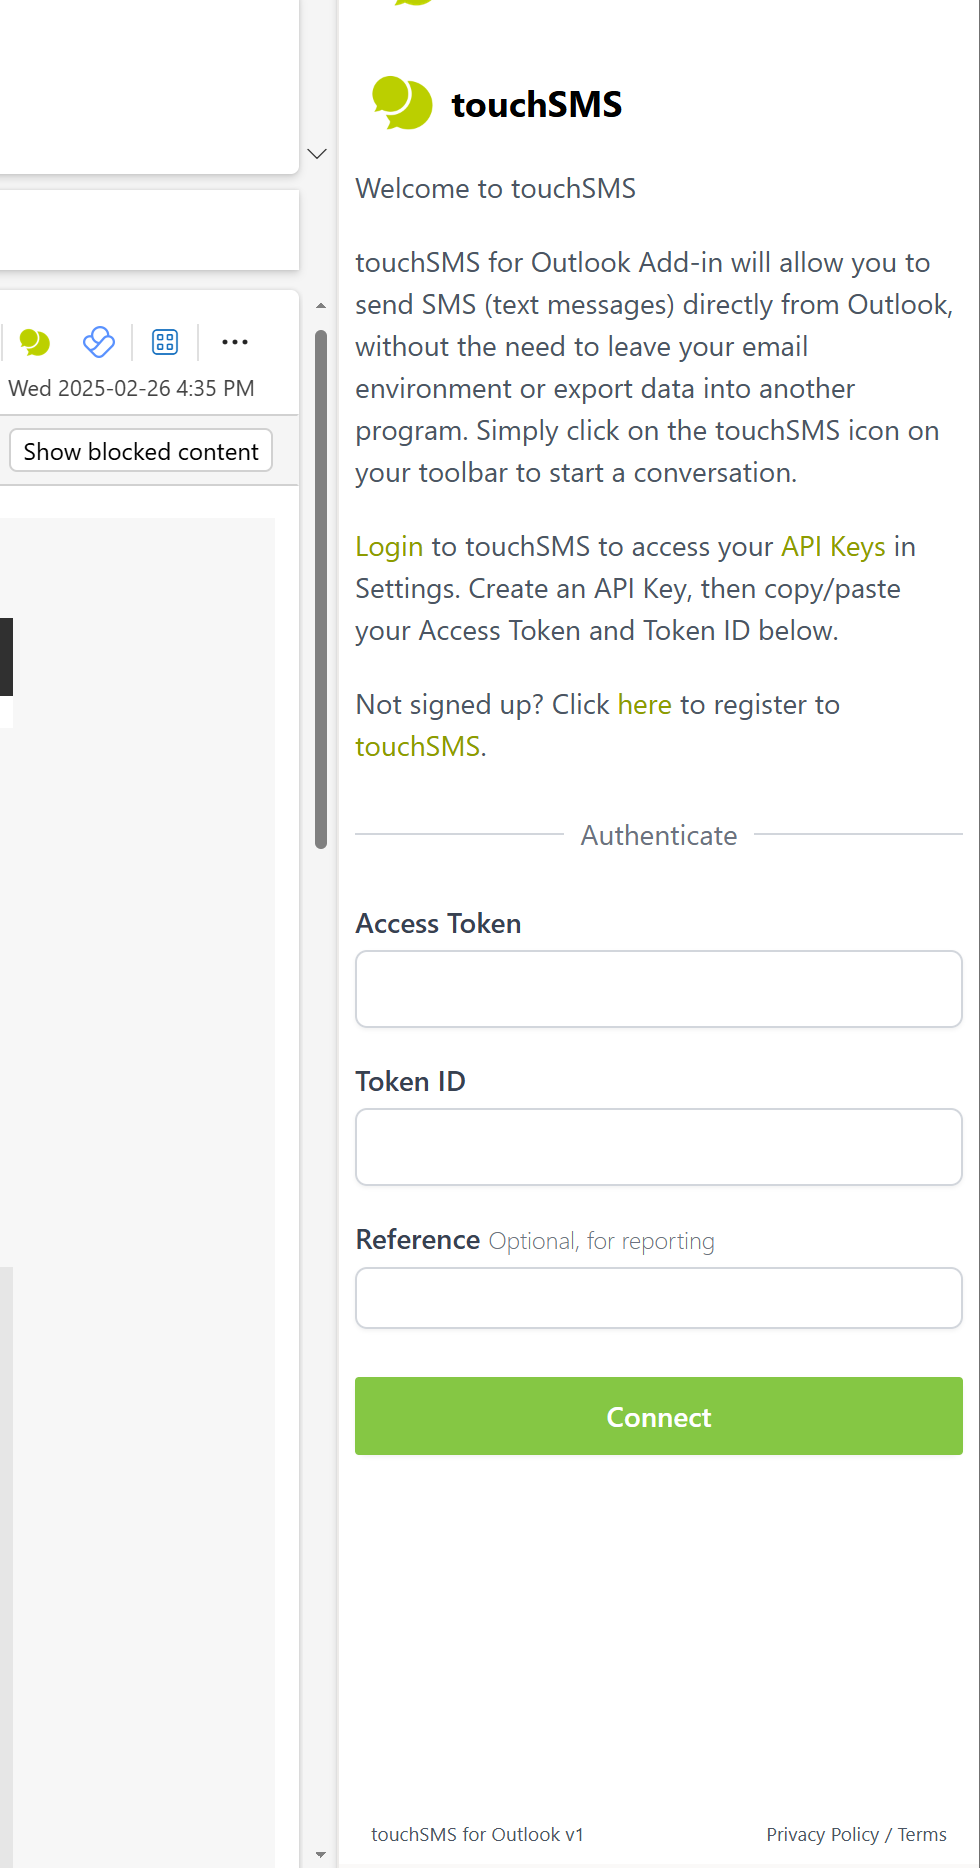
Connect the App to your touchSMS account using your API keys.
Log into your touchSMS account:
- Navigate to Settings > API Keys
- Click Create API Key.
- Enter a Name (for example; Outlook) for your API Key, the status will be set to Active by default, and click Save.
4. Sending SMS in Outlook
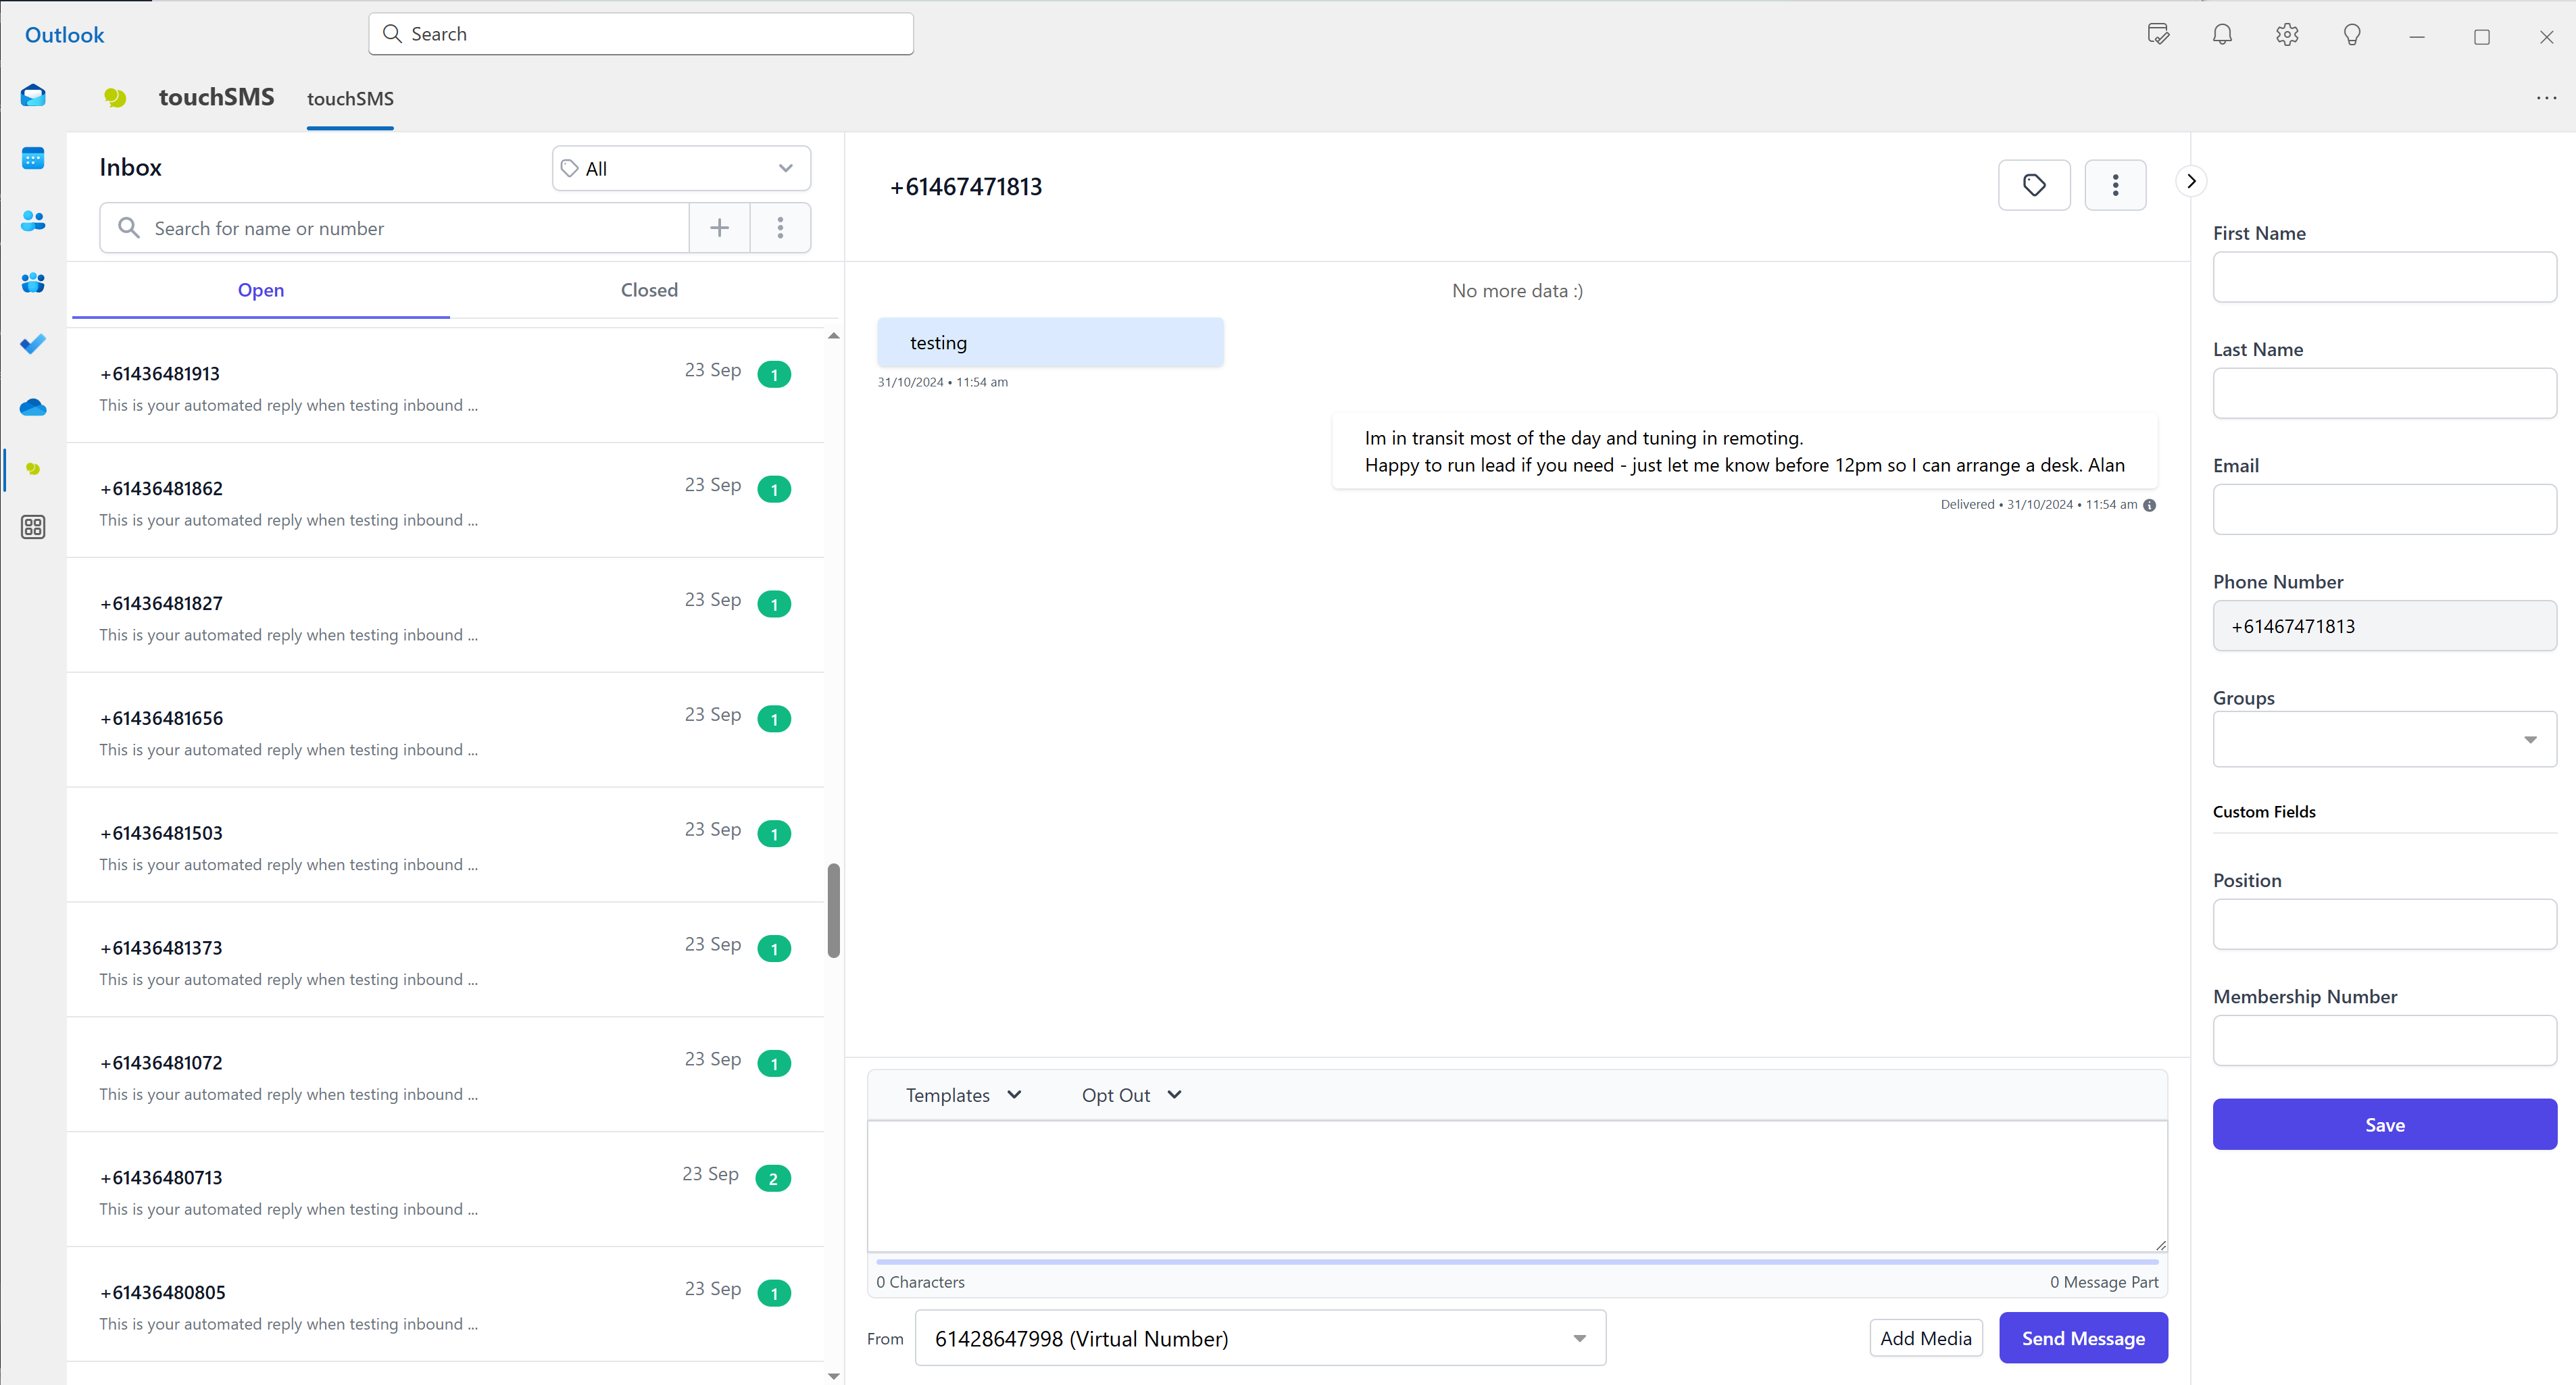
Sending from touchSMS Sidebar

1. To start a new chat, click the + or ⋮ icon from the top search bar
If you would like your recipients to reply to your SMS
-
- Shared Local Number – Replies to Web Inbox & Email (Allow Replies)
This is a shared pool of mobile numbers that allow you to receive replies to SMS sent. Numbers are randomly selected, so recipients receive messages from a different number each time you send. This is free to use and receive replies. - Virtual Number – Replies to Web Inbox & Email (Allow Replies)
You can purchase a Virtual Number from your touchSMS account (pricing and availability vary per region). This number is assigned to your account exclusively to send and receive messages, so recipients receive messages from the same number each time you send. Click here for more info - Sender ID – No Replies
Replace the sender number with a word like ALERT, URGENT or send from your brand name, by setting up an Alphanumeric Sender ID (availability varies per region). Telecommunication protocols limit an Alpha Sender ID to a maximum of 11 characters long and cannot contain any spaces or symbols, so you sometimes need to get creative with abbreviating longer names. Recipients CANNOT reply to messages sent using a Sender ID. - Own Number – Replies to Your Mobile
As your mobile number is verified at signup, you can send SMS from touchSMS using your registered mobile number. Replies to messages sent using your mobile number will be received by your mobile therefore not received in your touchSMS account.
- Shared Local Number – Replies to Web Inbox & Email (Allow Replies)
Your touchSMS templates are managed from your online account. To create a new template or manage an existing one simply login in and navigate to SMS > Templates click here for more information
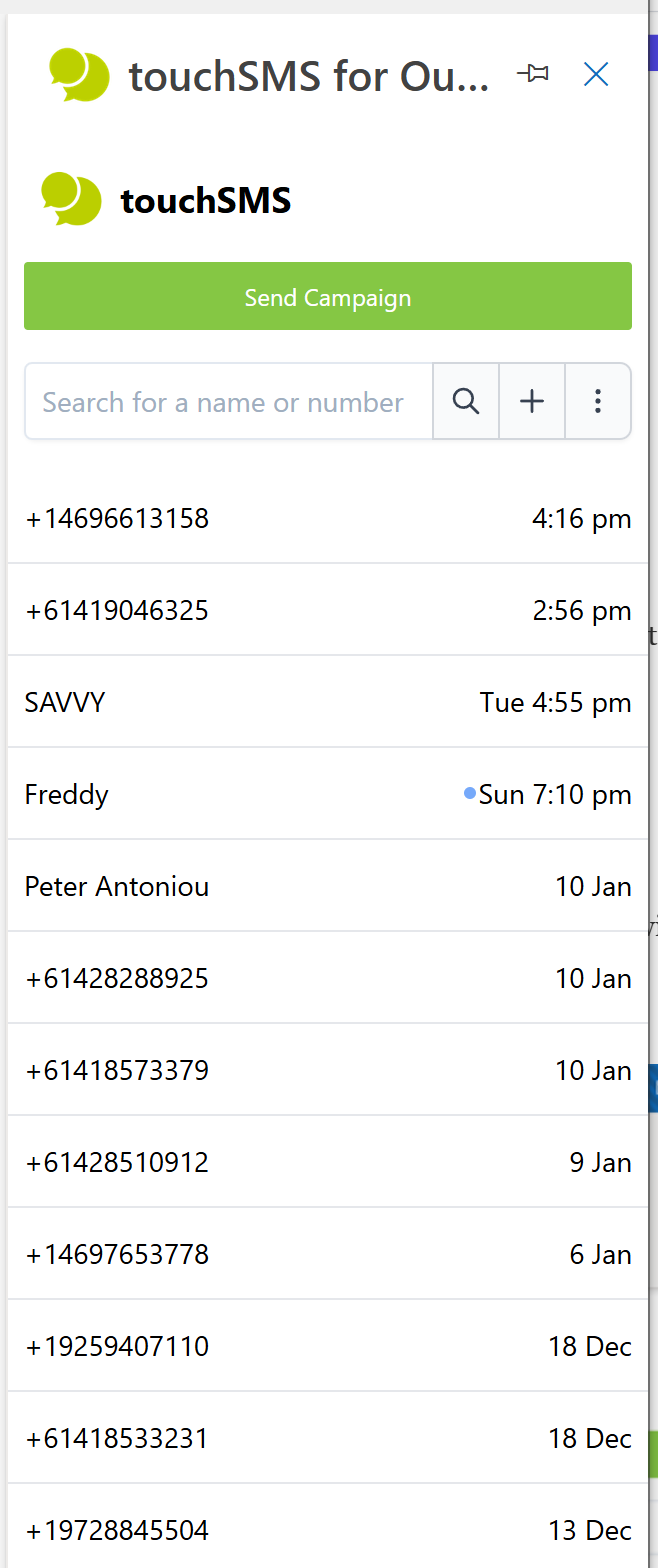
Send Campaign
1. Click on the touchSMS for Outlook Add-in in your Home menu ribbon to open the Add-in, then click Send Campaign.
2. Use the Recipients dropdown to select or search recipients from your saved touchSMS contacts or manually enter or paste numbers in the recipient field.
If you would like your recipients to reply to your SMS
-
- Shared Local Number – Replies to Web Inbox & Email (Allow Replies)
This is a shared pool of mobile numbers that allow you to receive replies to SMS sent. Numbers are randomly selected, so recipients receive messages from a different number each time you send. This is free to use and receive replies. - Virtual Number – Replies to Web Inbox & Email (Allow Replies)
You can purchase a Virtual Number from your touchSMS account (pricing and availability vary per region). This number is assigned to your account exclusively to send and receive messages, so recipients receive messages from the same number each time you send. Click here for more info - Sender ID – No Replies
Replace the sender number with a word like ALERT, URGENT or send from your brand name, by setting up an Alphanumeric Sender ID (availability varies per region). Telecommunication protocols limit an Alpha Sender ID to a maximum of 11 characters long and cannot contain any spaces or symbols, so you sometimes need to get creative with abbreviating longer names. Recipients CANNOT reply to messages sent using a Sender ID. - Own Number – Replies to Your Mobile
As your mobile number is verified at signup, you can send SMS from touchSMS using your registered mobile number. Replies to messages sent using your own mobile number will be received by your mobile therefore not received in your touchSMS account.
- Shared Local Number – Replies to Web Inbox & Email (Allow Replies)
(To create templates, login to your touchSMS account and go to SMS > Templates click here for more information)
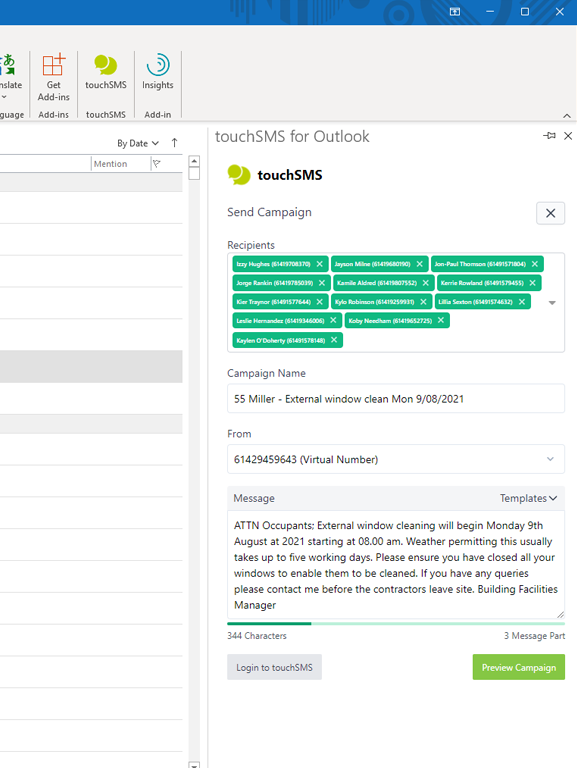
8. The Campaign Summary will detail exactly how many numbers you are sending to, the length of the message, and calculate the cost of your campaign in SMS credits. (If you do not have enough SMS credits a notification will appear, that will direct you to Purchases in touchSMS so you can purchase more)
9. Click Send Now to submit your campaign for delivery
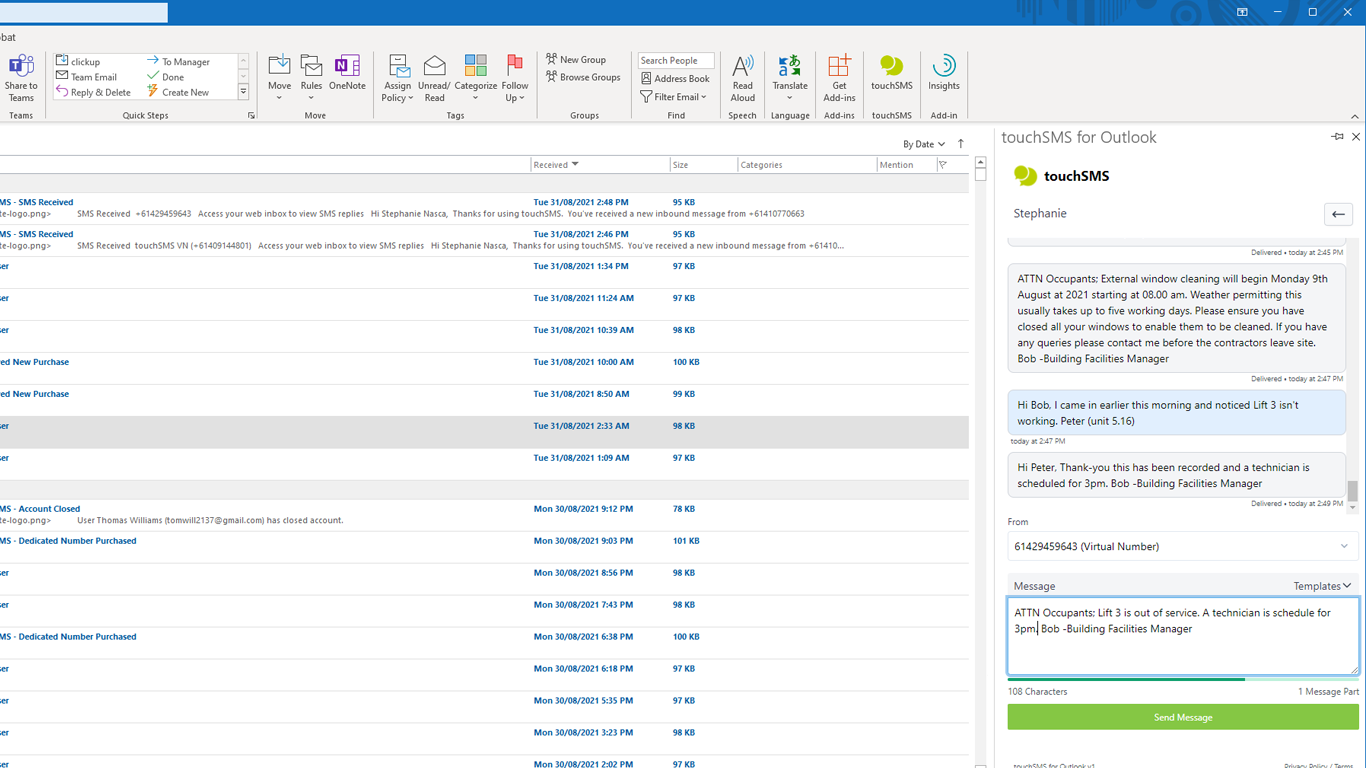
Sending from the App
The touchSMS app in Outlook is linked to SMS Chat – see a breakdown of features.
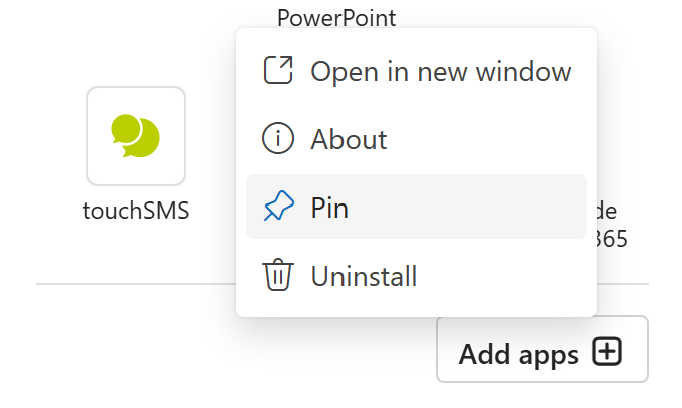
5. Hiding or removing touchSMS for Outlook Add-in
To remove the touchSMS, simply right-click on the App in the menu ribbon and select “Remove App”.