SMS for Microsoft Teams – Setup and User Guide
NOTE: To maximise your feature experience, we recommend purchasing a Virtual Number for sending SMS from Teams
1. Sign up and add credits
touchSMS is a pre-paid SMS platform – no contracts, hidden fees or minimum spend and you can close your account at any time. To sign up and activate your touchSMS account, all you need is a verified email address and mobile number – no credit card required.
We’ll even give you 10 free SMS credits to get you started.
You can then pre-purchase more credits as needed at 5c per credit or set up Auto-Top Up to ensure you don’t run out of credits when sending. Click here for more information
One credit is used for 1 SMS of up to 160 characters. Your credit balance will always appear in the top right corner of your touchSMS account. To purchase credits log in to your touchSMS account:
- Navigate to Purchase > Credits
- Enter the number of prepaid Credits you wish to purchase and click Calculate.
- Complete your Payment Information using your credit card or PayPal account and click Finalise Purchase.
If you already have a touchSMS account, log in and move on to Step 2.
2. Download and install the App
To complete this step, you will need to login to both Teams Online and touchSMS.
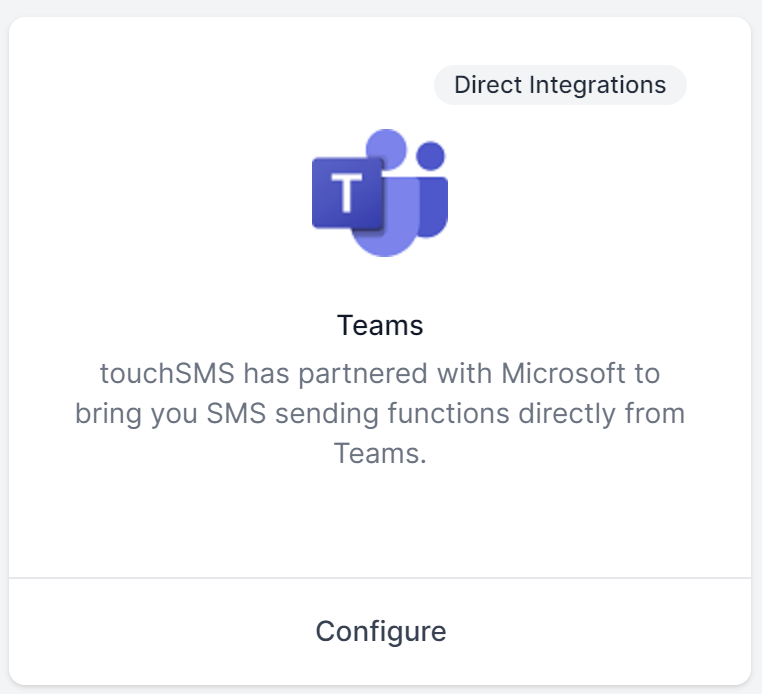
1. In touchSMS, go to INTEGRATIONS > find TEAMS and click CONFIGURE.
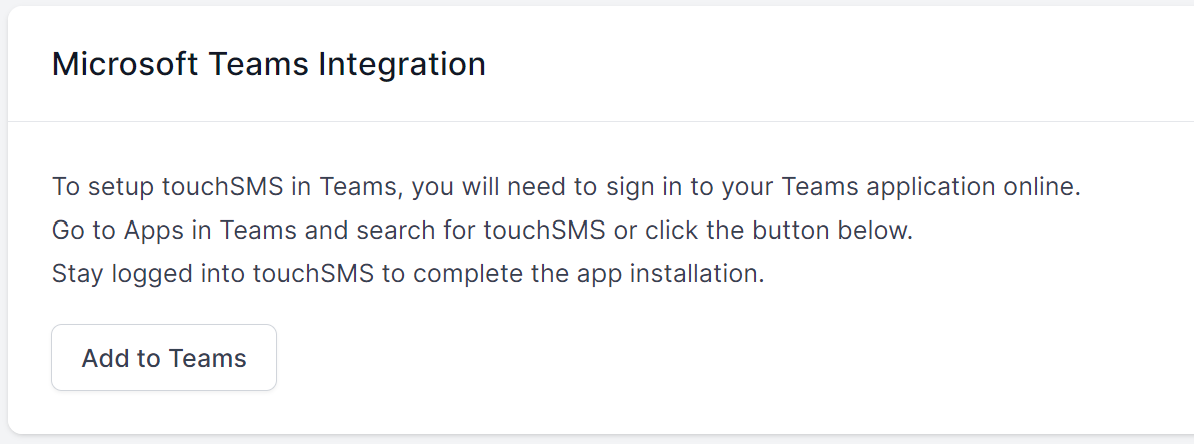
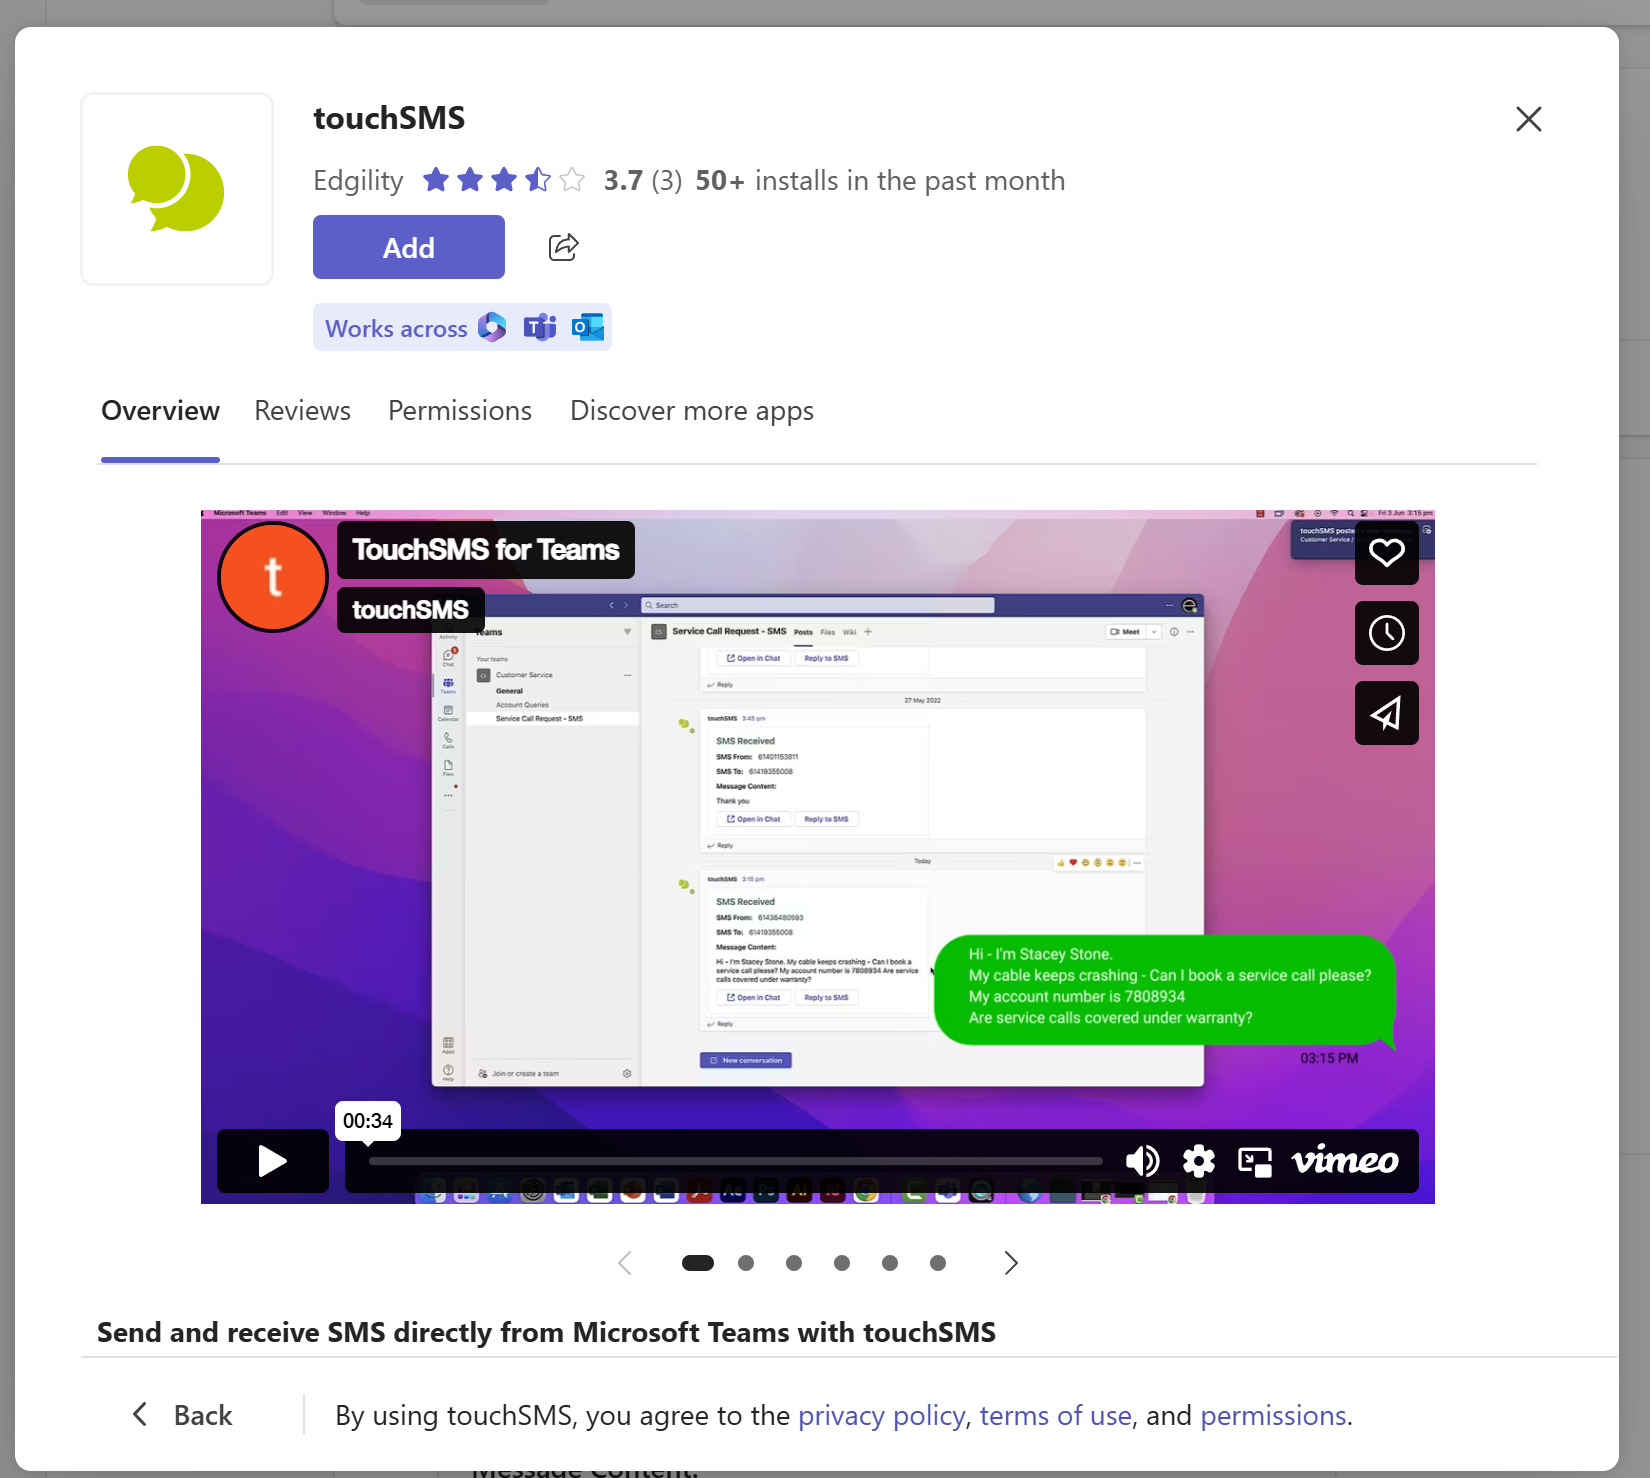
2. Click Add to Teams to connect to the App page on Microsoft AppSource
3. Click Get it Now – you’ll be asked to log in to your Microsoft account if not already logged in
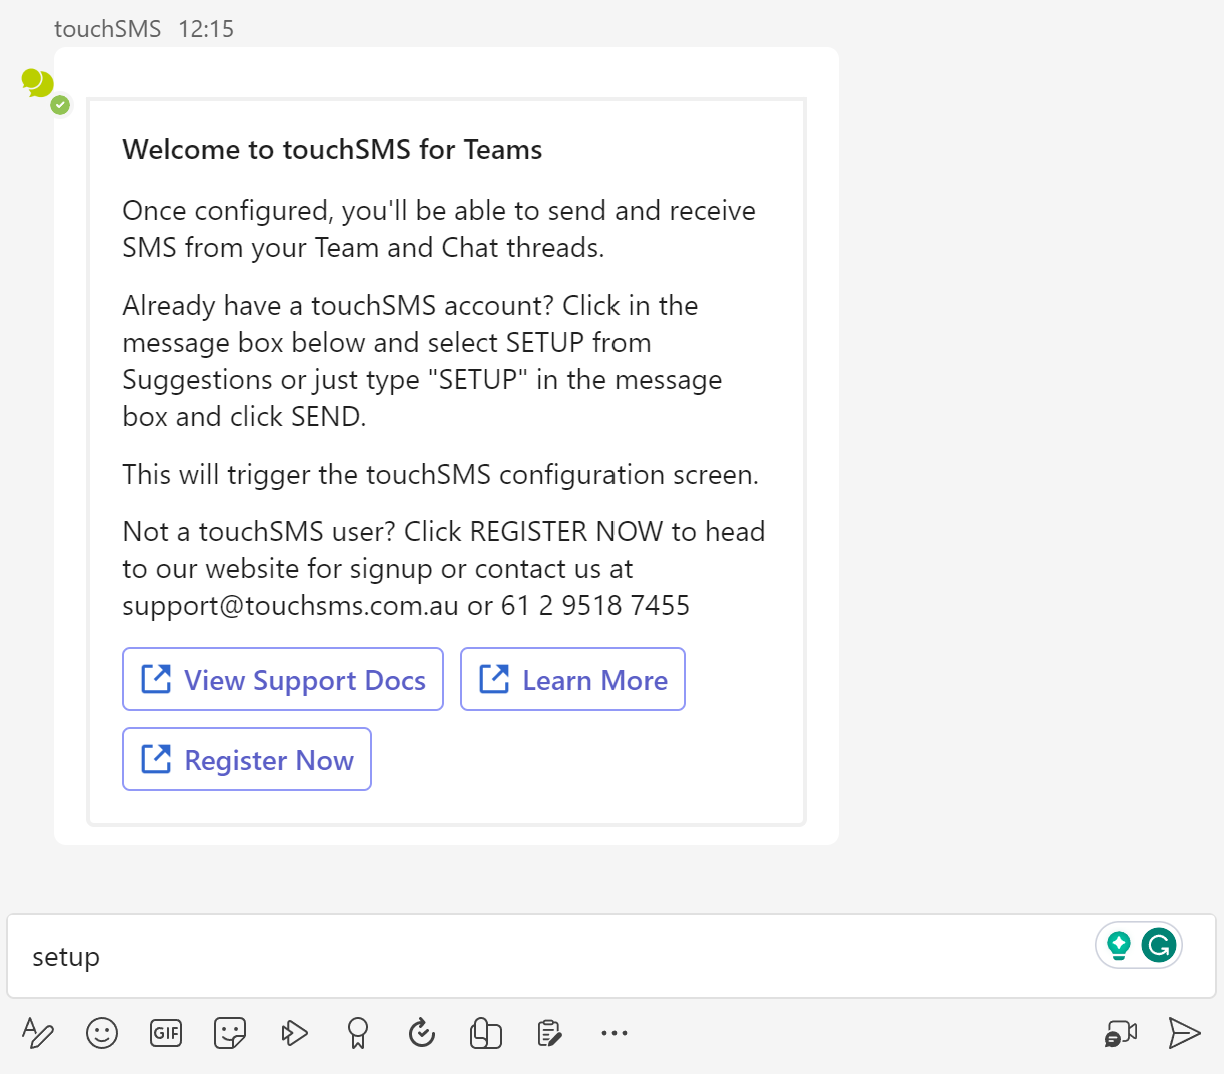
4. When the App opens in Teams, select the CHAT tab at the top and type SETUP in the message field, then click send.
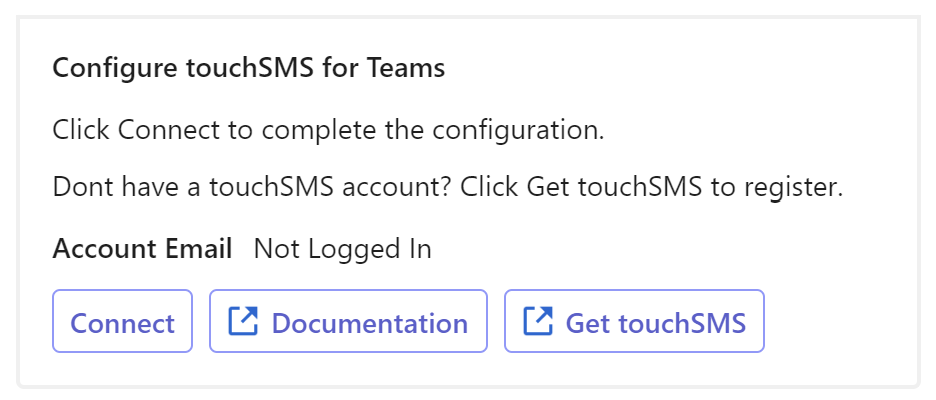
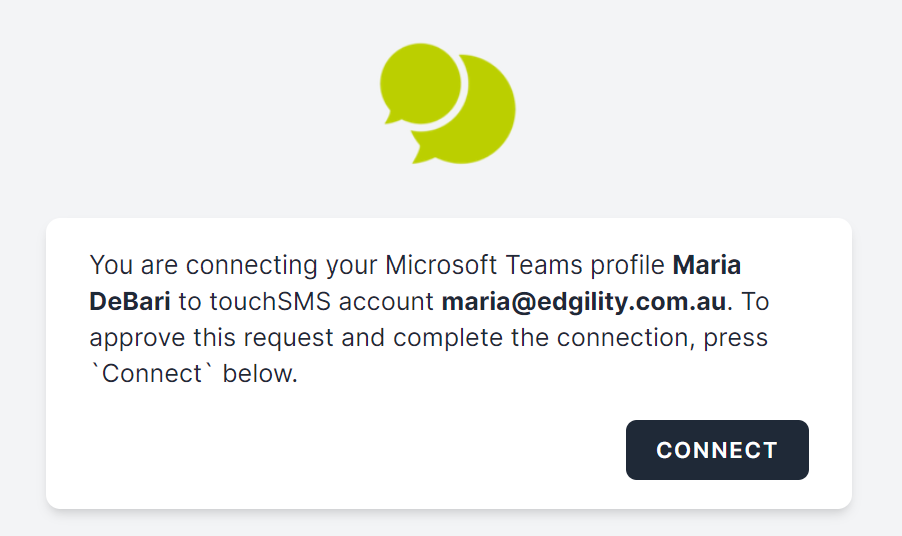
5. Click CONNECT to configure the App
6. Click OK to confirm the link between touchSMS and Microsoft user profiles.
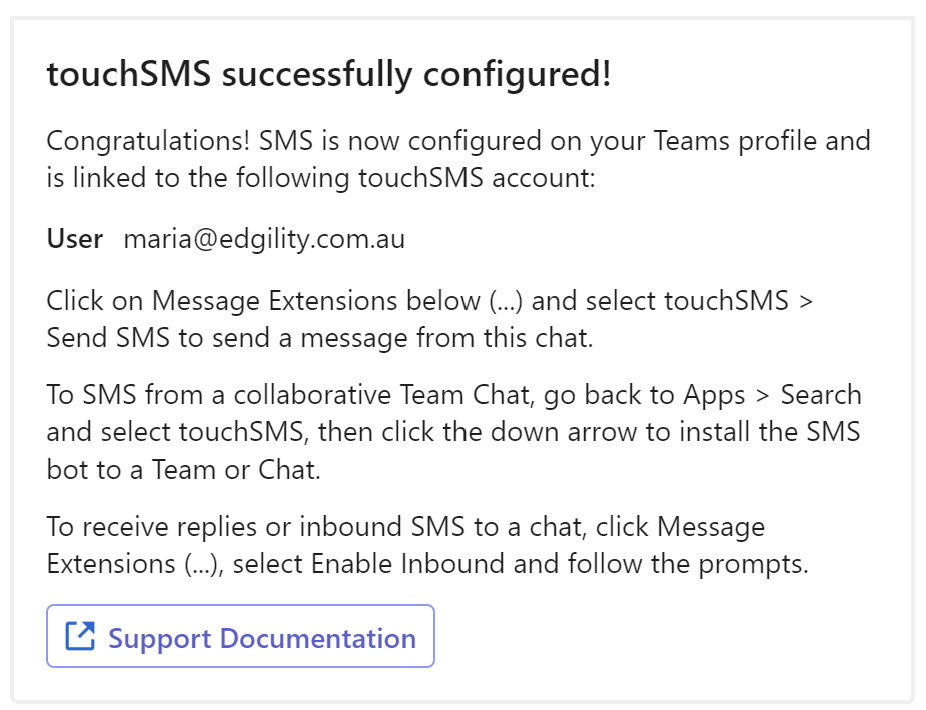
7. You will receive confirmation of the successful configuration in App.
Note: This will set up the touchSMS as an App in Teams. To send and receive SMS from collaborative spaces (team), you will need to add the App as a tab in the team.
Add touchSMS App to team
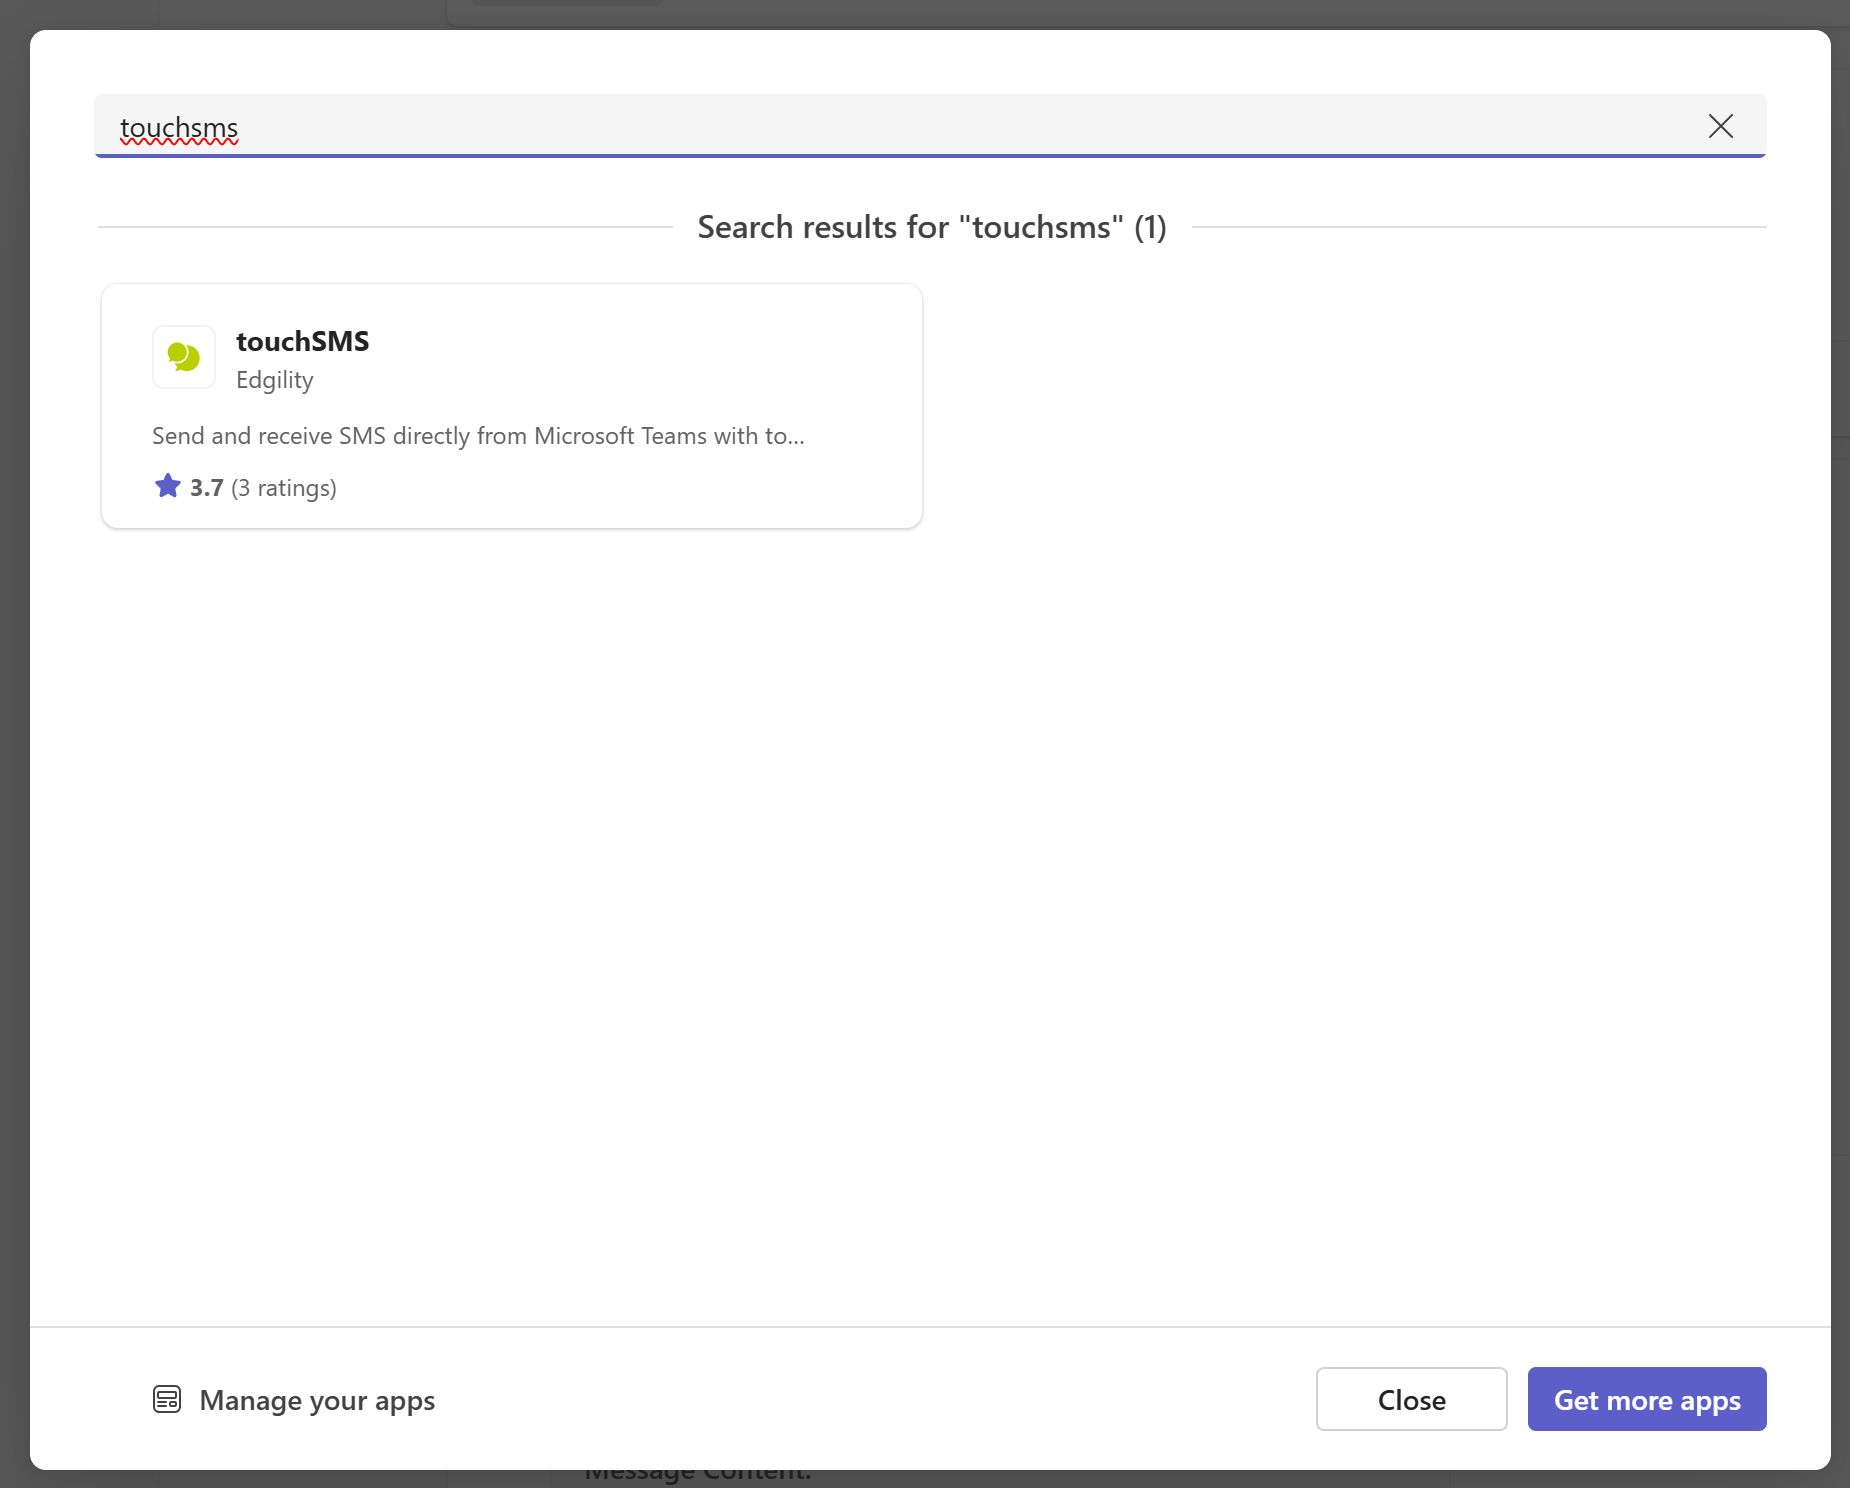
To do this, open the team and click on the + at the top to add a tab
Search for touchSMS from the available Apps
Click to select and click ADD
The touchSMS App is now enabled in this team for sending and receiving SMS.
Note: Administrators see Microsoft Policy for assignment of apps to a Team
3. Integration Settings
CONVERSATION THREADING
Once configured, personalise your SMS experience by enabling Conversation Threading. This feature allows you to set a time frame for which SMS communication with a contact, will be consolidated into a conversation thread in your Teams chat.
Set the time period (in days or hours) to determine the duration of SMS threading. Messages sent or received beyond the time period will start a new message thread.
Leave this blank if you do not want messages threaded in your chat.
USER CONNECTIONS
Repeat the above configuration process above, to connect multiple Teams users to your touchSMS account.
Teams users connected to your touchSMS account will be listed under User Connections. From here, you can set a default Sender ID for each user in Teams and disconnect their integration access.
Click the ellipsis ⋮ and click SETTINGS to set a user’s default Sender ID or select DISCONNECT to sever their access to the Teams integration.
4. Sending SMS from Teams
1. touchSMS Tab
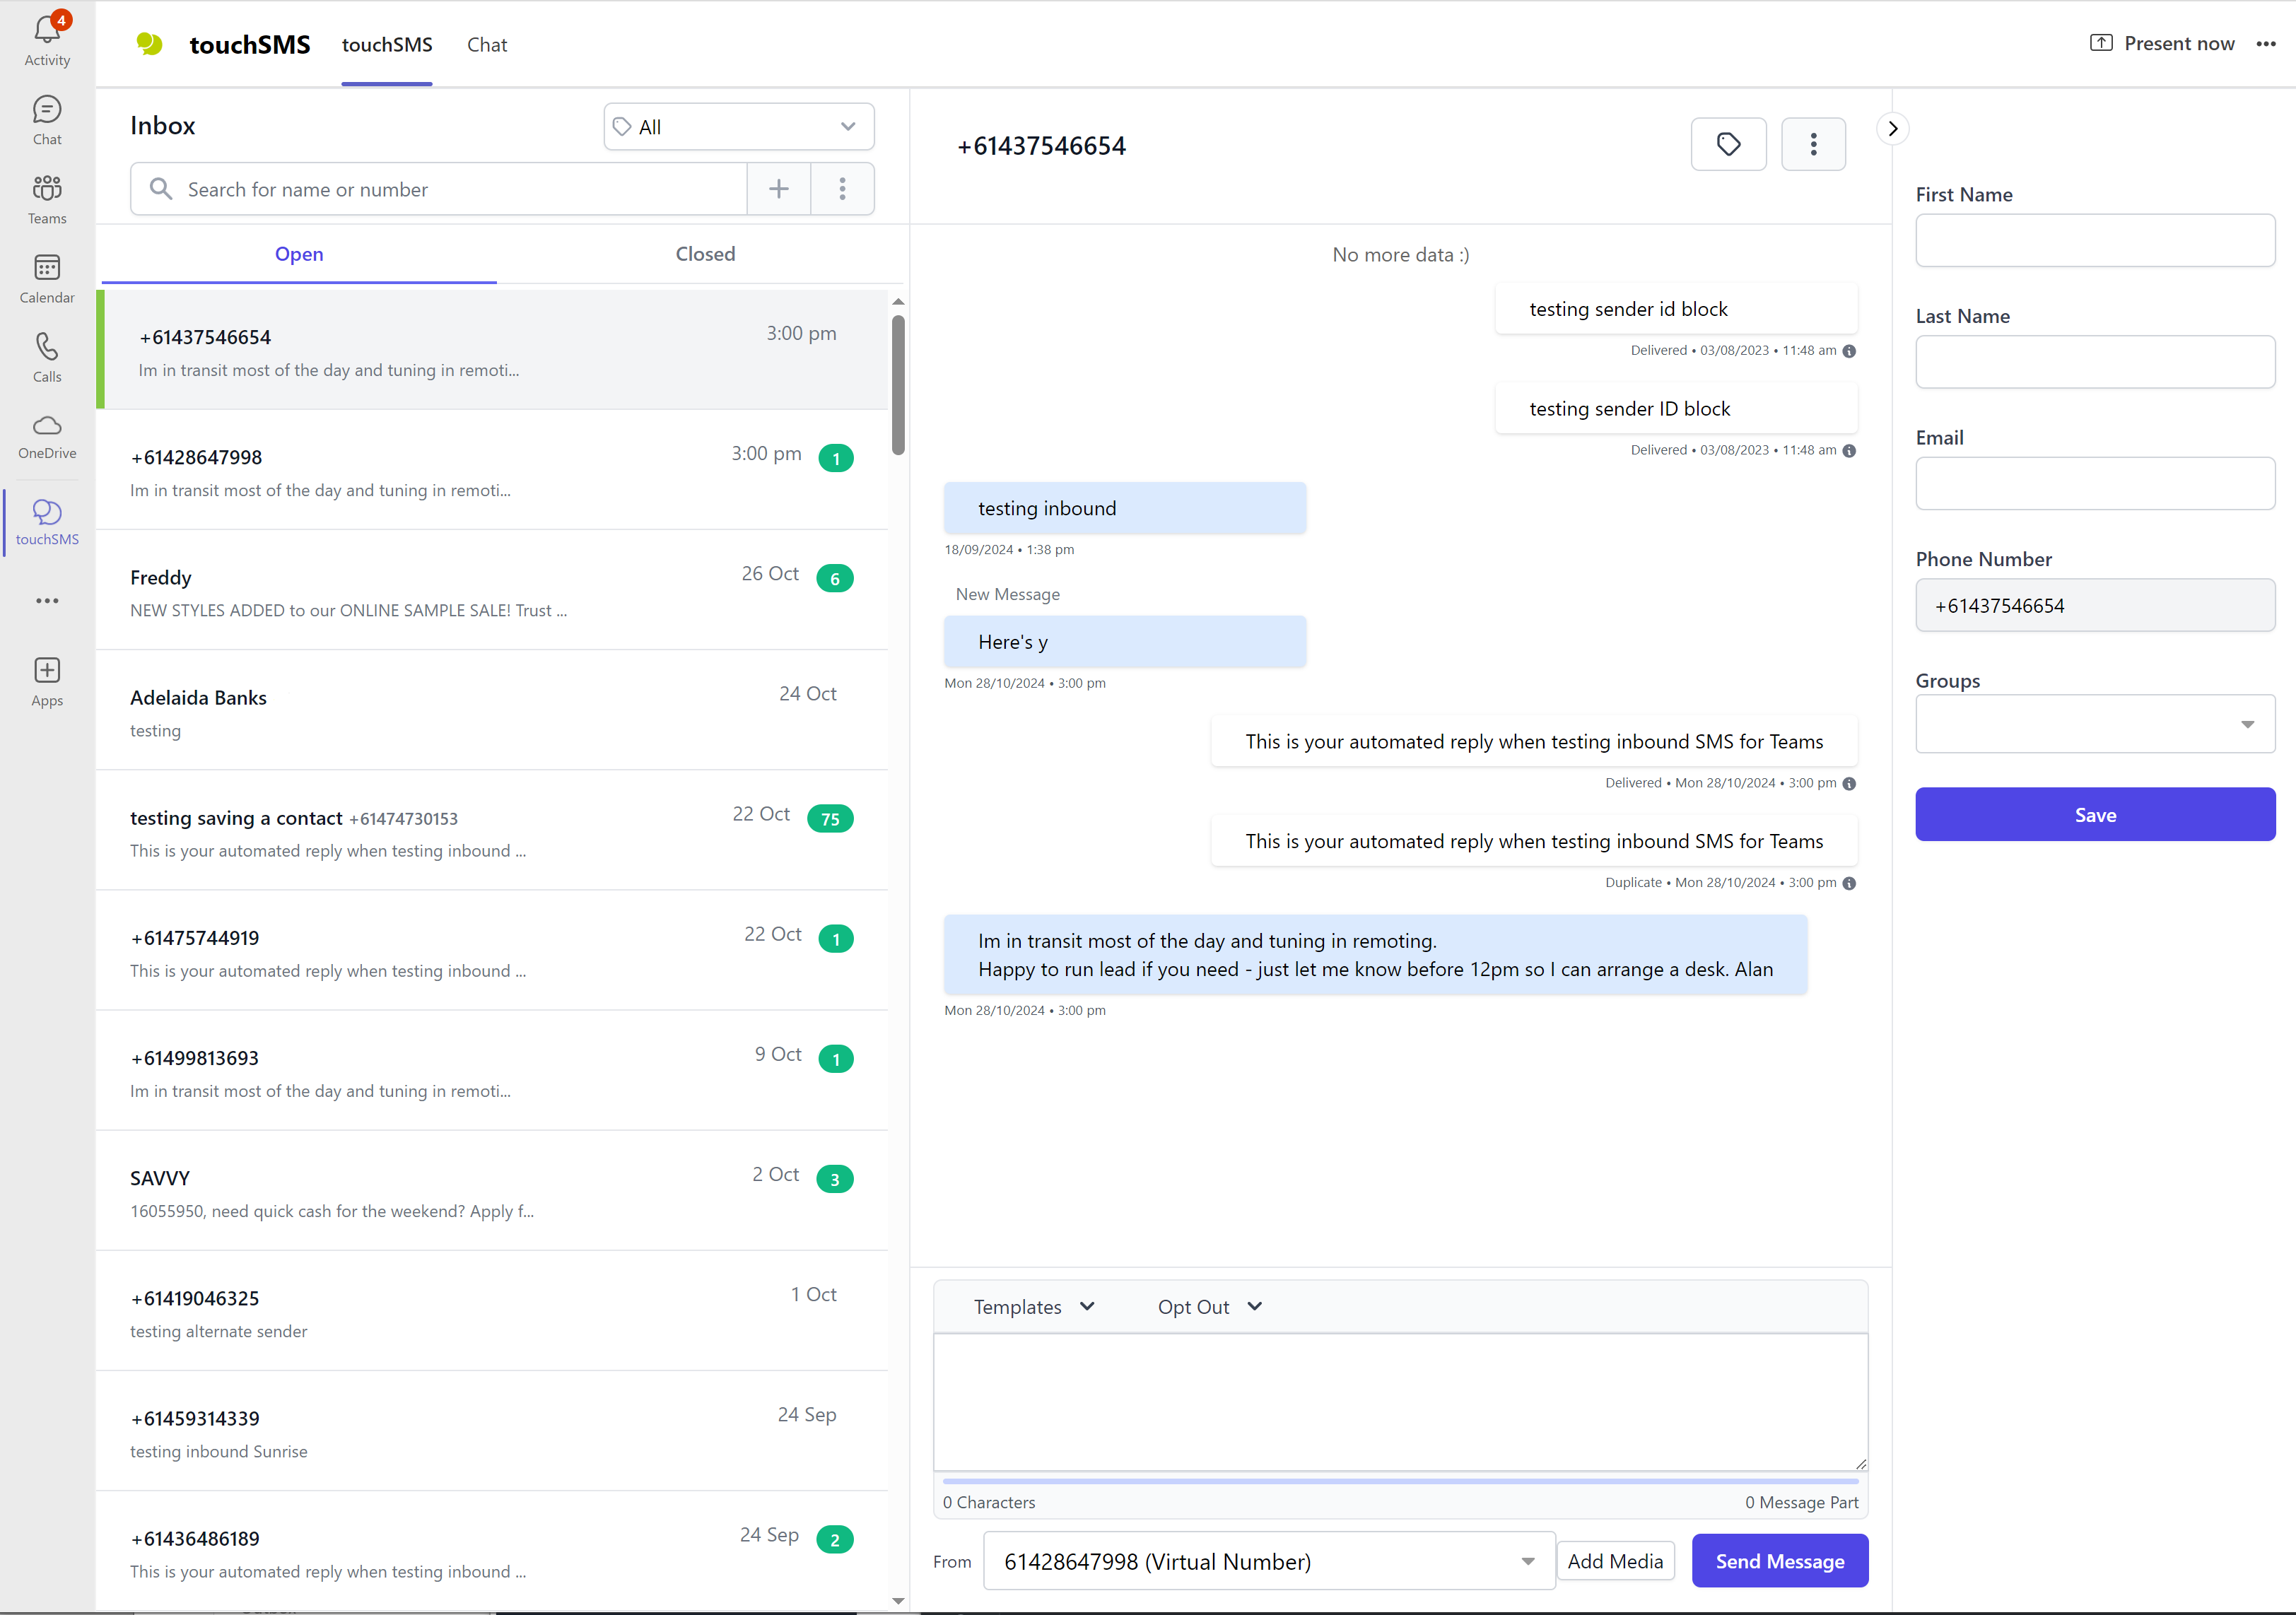
Select the touchSMS tab to manage SMS conversations using SMS Chat in Teams. View SMS Chat overview.
2. Chat Tab
To log and track inbound and outbound messages in a Teams chat, use the Chat tab.
**Before sending SMS from the chat thread of any collaborative “team”, ensure you have enabled the touchSMS tab in this area – details above.**
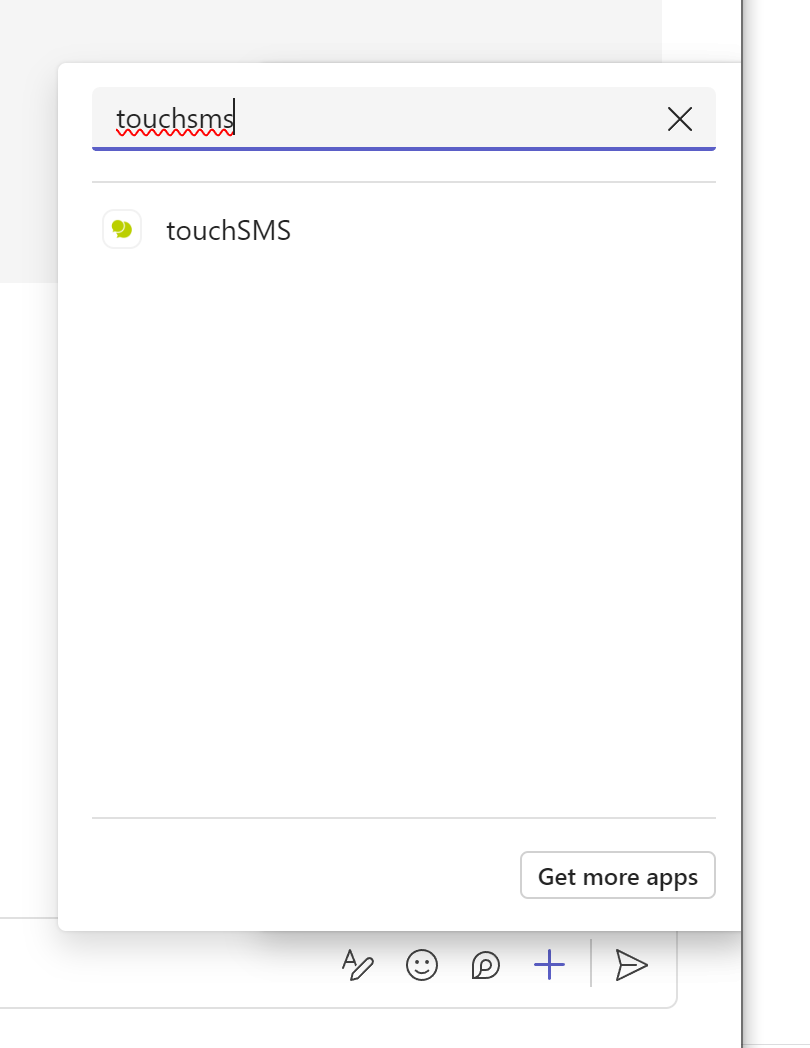
Click New Conversation and select the + from the message bar
Search for or select touchSMS from the App list.
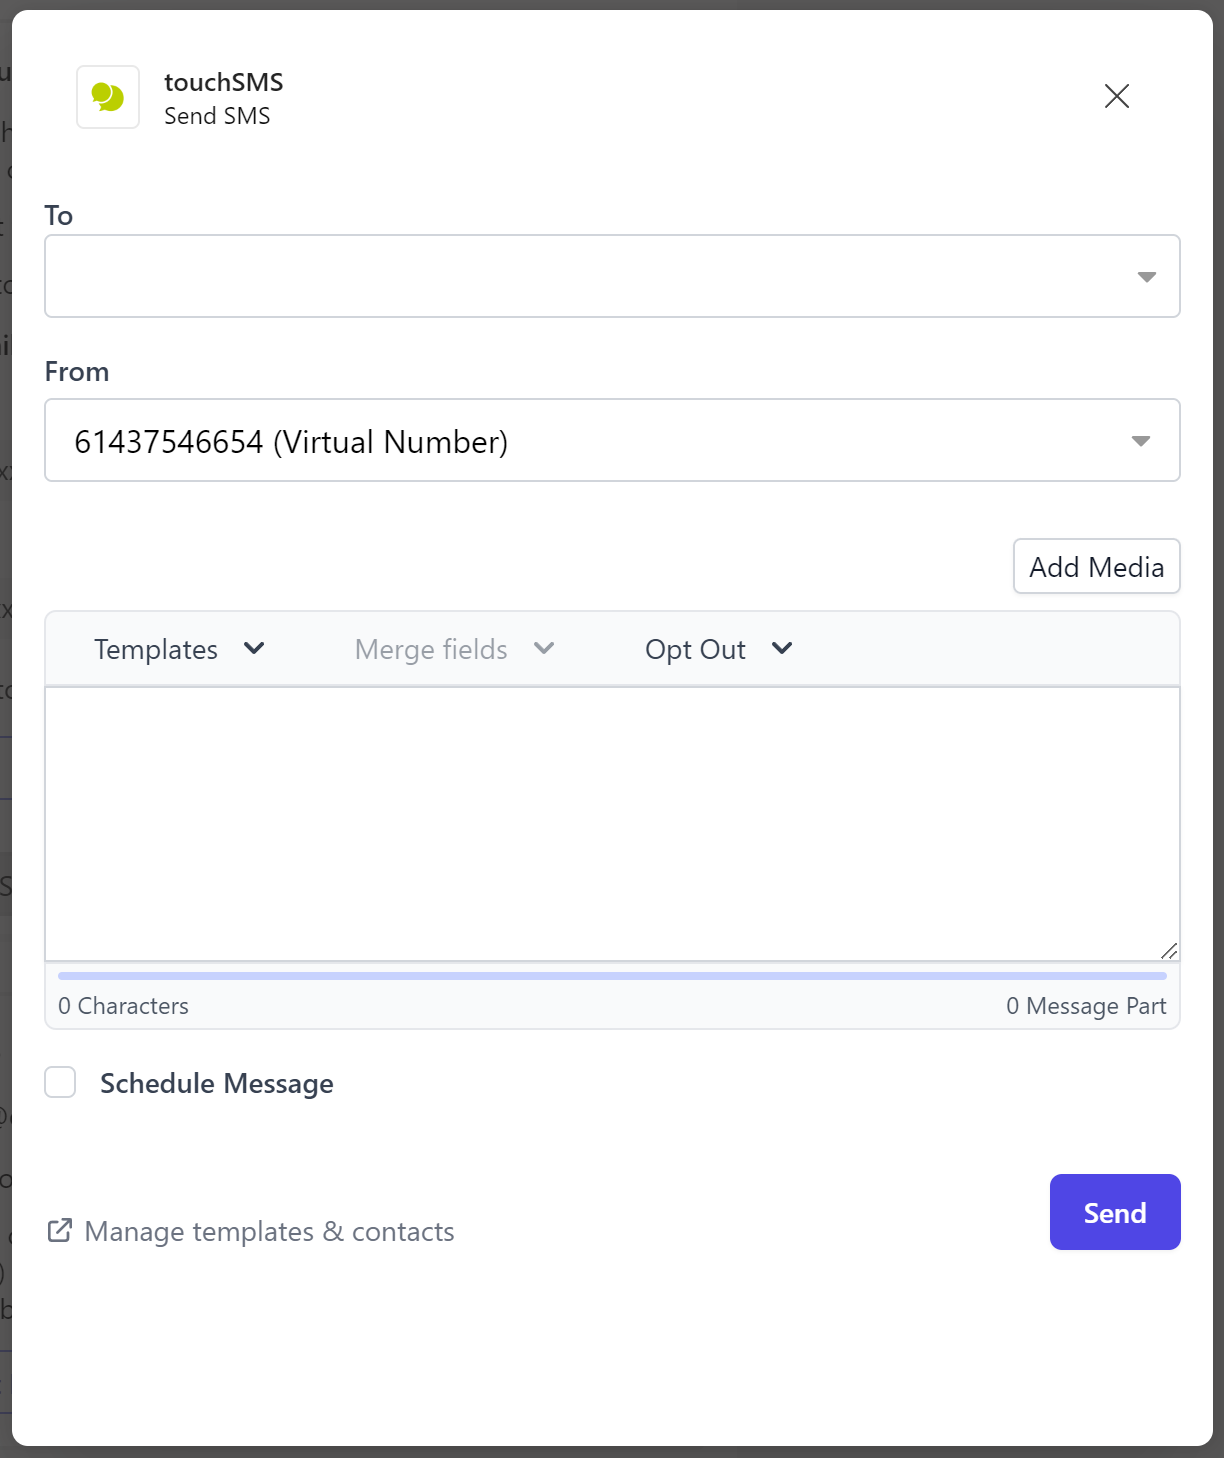
3. Select Send SMS to open the sending screen.
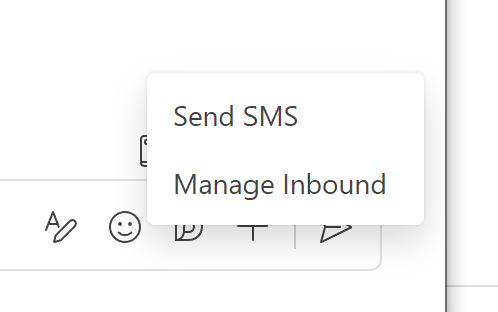
4. Compose your message and click Send or schedule for later.
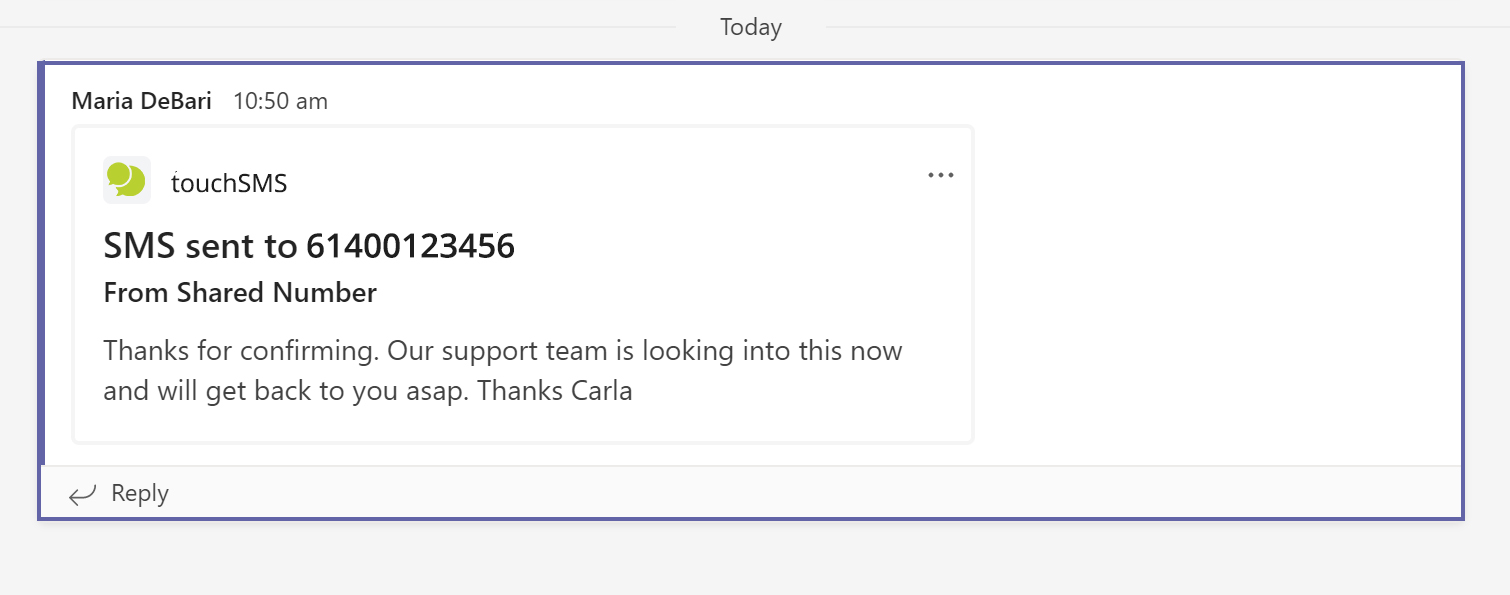
5. Receiving SMS in Teams
To receive inbound SMS or replies to your messages in Teams, you will need to assign a Team or Chat to have them routed to.
To enable replies, Select your Team or Chat thread, and click New Conversation.
Click on the three dots to display more Message Extensions, then select touchSMS.
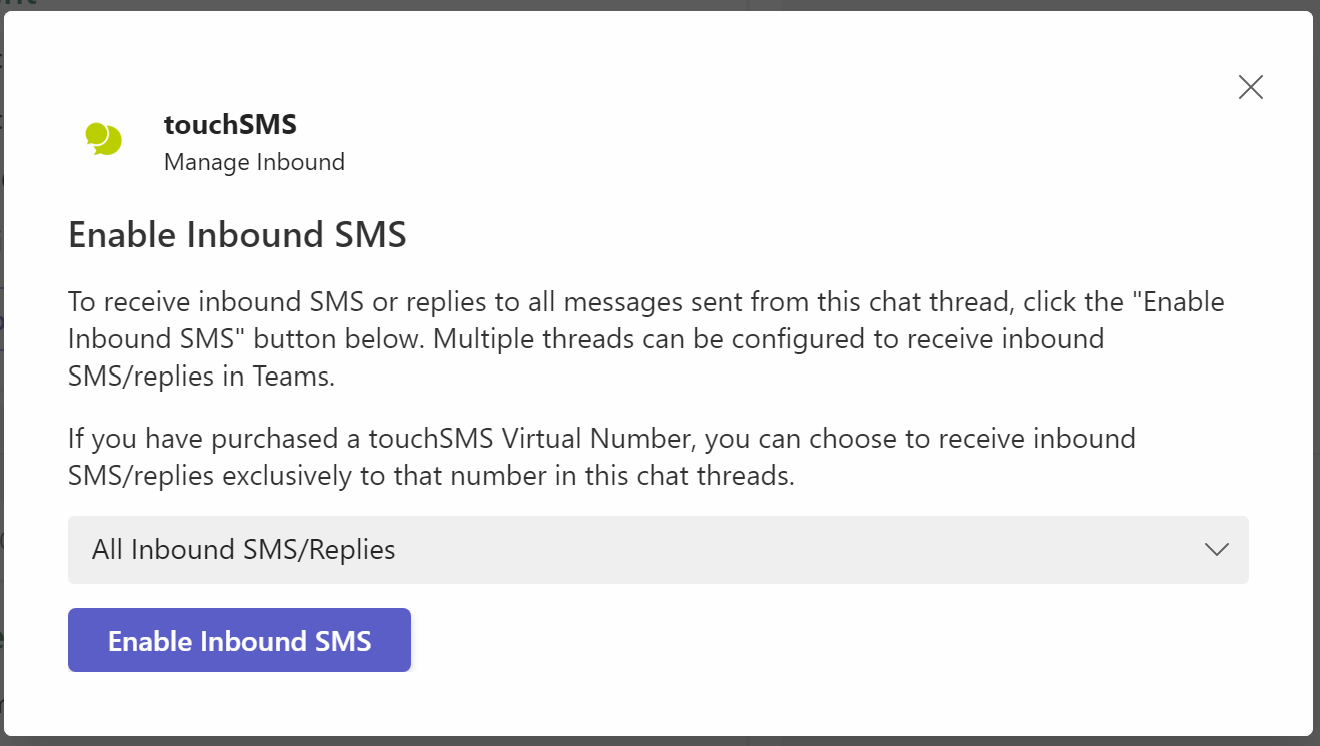
Select Manage Inbound from the suggestions.
When the following dialogue box appears,Click Enable Inbound SMS to have ALL inbound messages routed to this thread or if you have purchased a Virtual Number, use the dropdown to select inbound to that number only.
The touchSMS bot will confirm the assignment in your chat thread.
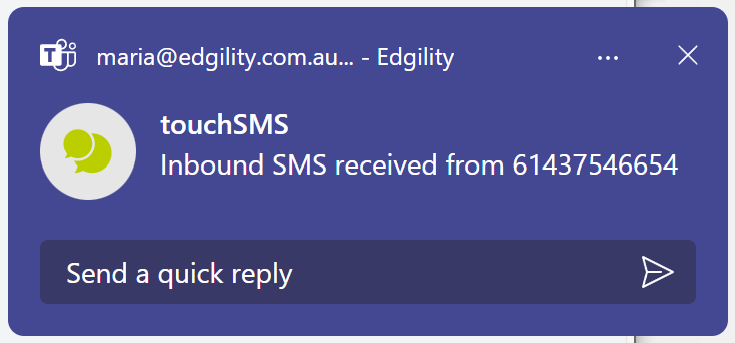
Once enabled, you will also receive native Teams notifications of inbound SMS.
6. Receive SMS in Thread
NOTE: Ensure that you have enabled Conversation Threading in Integration Settings (see above).
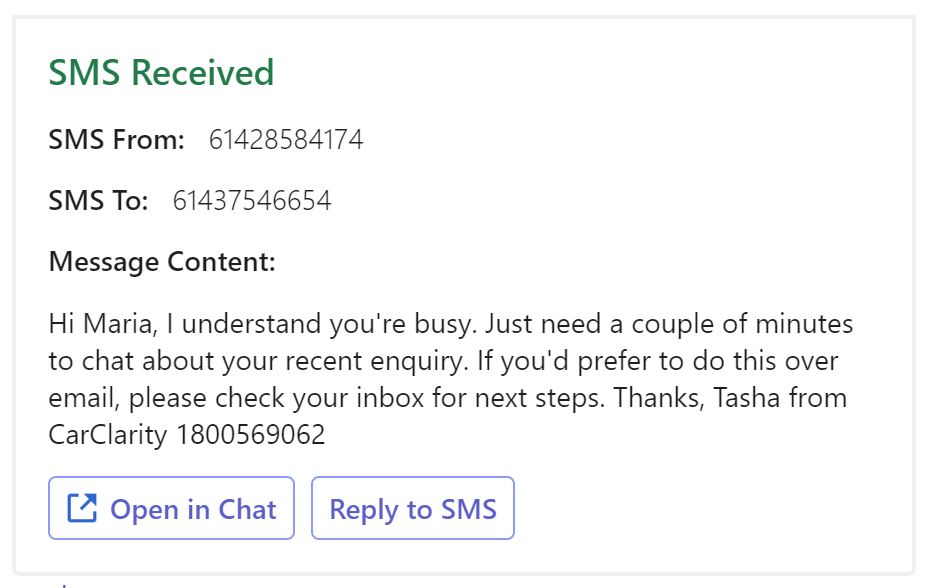
To have SMS replies appear under your originating message and continue a conversation in a thread, click Reply to SMS button in the SMS Received card.
To reply to subsequent messages in the same thread, click Reply at the bottom of the card, then either:
a. Click on the + to display more Message Extensions > select touchSMS to open the send SMS screen
OR
b. Type @touchsms > type your SMS message and click Send.
NOTE: This method only works when replying in thread.
7. Sending Screen Explained
Here’s a breakdown of the sending screen:
RECIPIENT NUMBER
Type or paste numbers into this field – always enter numbers in their international format, which includes country code.
Click the recipient field to select from the contacts/groups saved in your touchSMS account.
FROM
This field determines what your SMS is sent from – the name or number that appears as the sender when your contact receives the SMS. Here are your options:
Shared Local Number – Replies to Web Inbox & Email
- This uses a rotating pool of mobile numbers that allow you to receive replies to SMS sent. Numbers are randomly selected, so recipients receive messages from a different number each time. This is free to use and replies are free.
Virtual Number – Replies to Web Inbox & Email
- You can purchase a Virtual Number from your touchSMS account (pricing and availability vary per region). This number is exclusive to your account, so recipients receive messages and reply to the same number each time you send. Click here for more info.
Sender ID – No Replies
- Send SMS from your business name rather than a number. Alphanumeric Sender IDs must be registered and approved by touchSMS through your account. These have a maximum of 11 characters and cannot contain any symbols. Recipients CANNOT reply to messages sent using a Sender ID.
Own Number – Replies to Your Mobile
- As your mobile number is verified at signup, you can send SMS from touchSMS using your registered mobile number. Replies to messages sent using your own mobile number will be received by your mobile therefore not received in your touchSMS account.
Your default touchSMS Sender ID is managed from your online account. To add a new Sender ID or manage an existing one simply log in and navigate to Profile > Allowed Sender ID’s click here for more info
ADD MEDIA
If you have purchased a touchSMS Virtual Number for sending, you can send MMS from Teams. Click the Add Media button to browse and select your image.
MESSAGE
Type the content of your SMS into the Message box. There’s no limit to the length of message you can type here, but bear in mind that 1 standard SMS contains 160 characters – each standard message is charged at 1 SMS credit.
To compose your message, you can select from SMS Templates saved in your touchSMS account, insert merge fields (if sending to saved contacts) and insert Opt Out.
SCHEDULE MESSAGE
Check the box to select a later date/time for delivery of your message.
8. Notifications
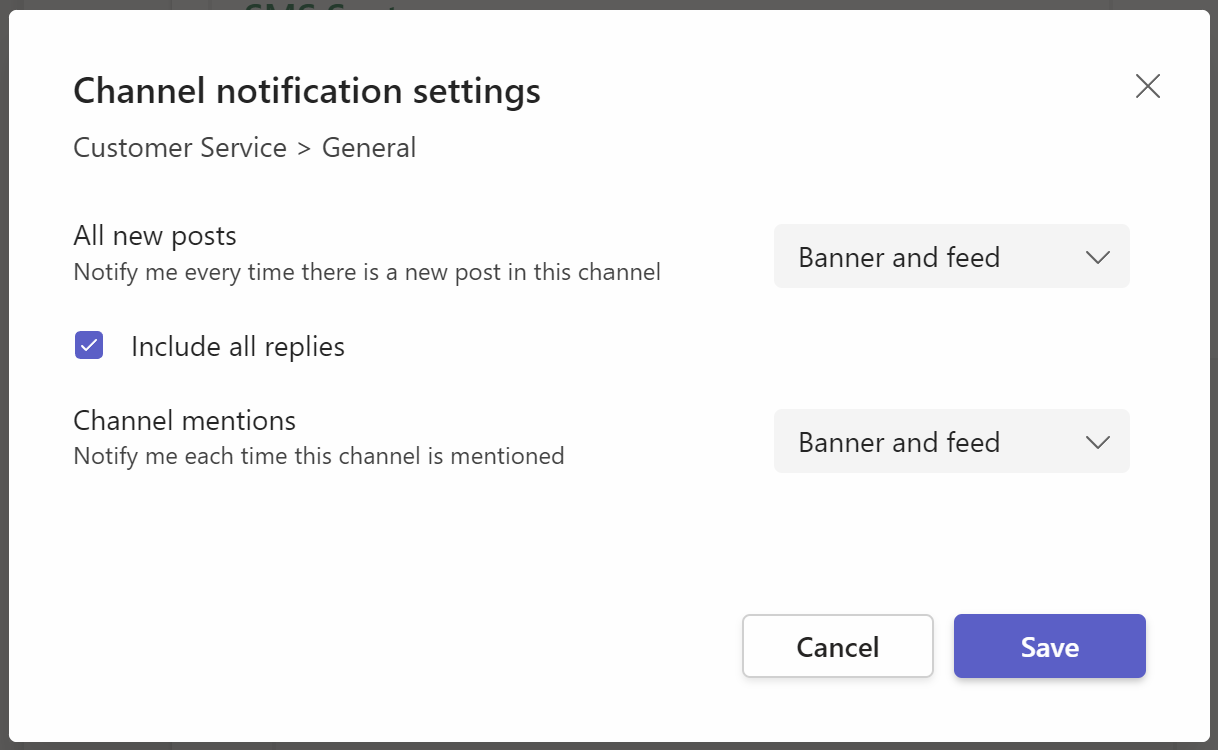
Enable channel notification to ensure you never miss an inbound SMS in Teams.
To do this, right click on the channel have enabled to recieve inbound SMS and select Channel Notifications.
Ensure All new posts notifications is set to Banner and feed and Include all replies is checked
9. Removing touchSMS App
To remove the touchSMS for Teams, simply right-click on the App in the menu ribbon and select “Uninstall”.
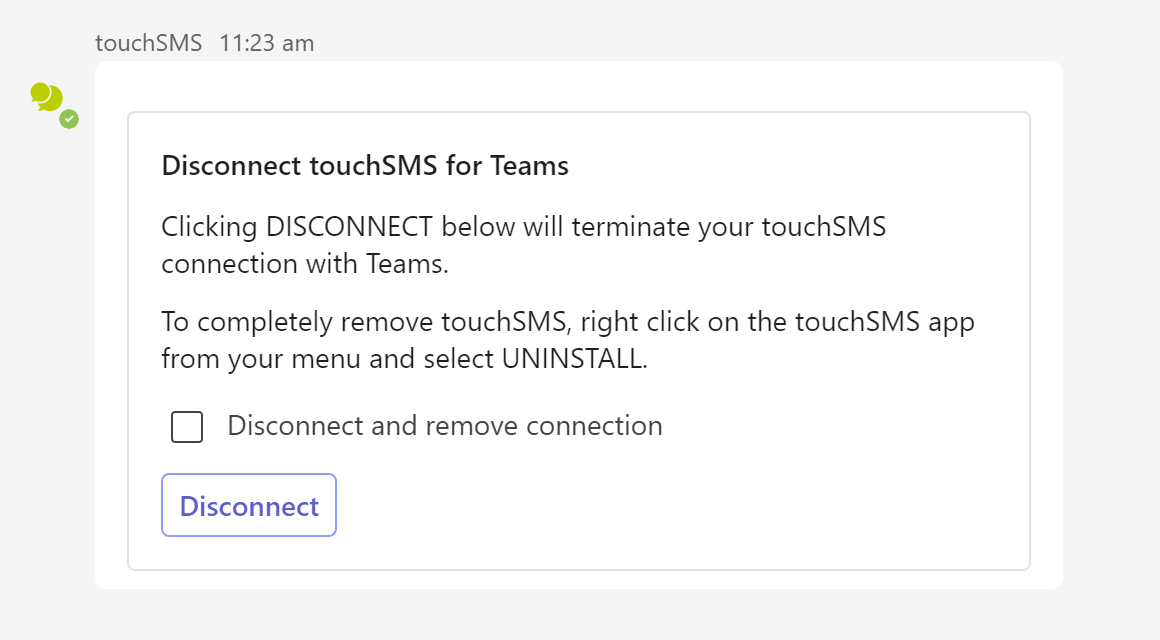
Alternatively, click on the touchSMS App and type DISCONNECT in the message box, and SEND.
When the below window appears, check the box and click DISCONNECT.


