
touchSMS for JobAdder Set up and User Guide
1. Installation
To enable your touchSMS integration in JobAdder, follow the instructions below;
1. Login to your touchSMS account and navigate to Integrations
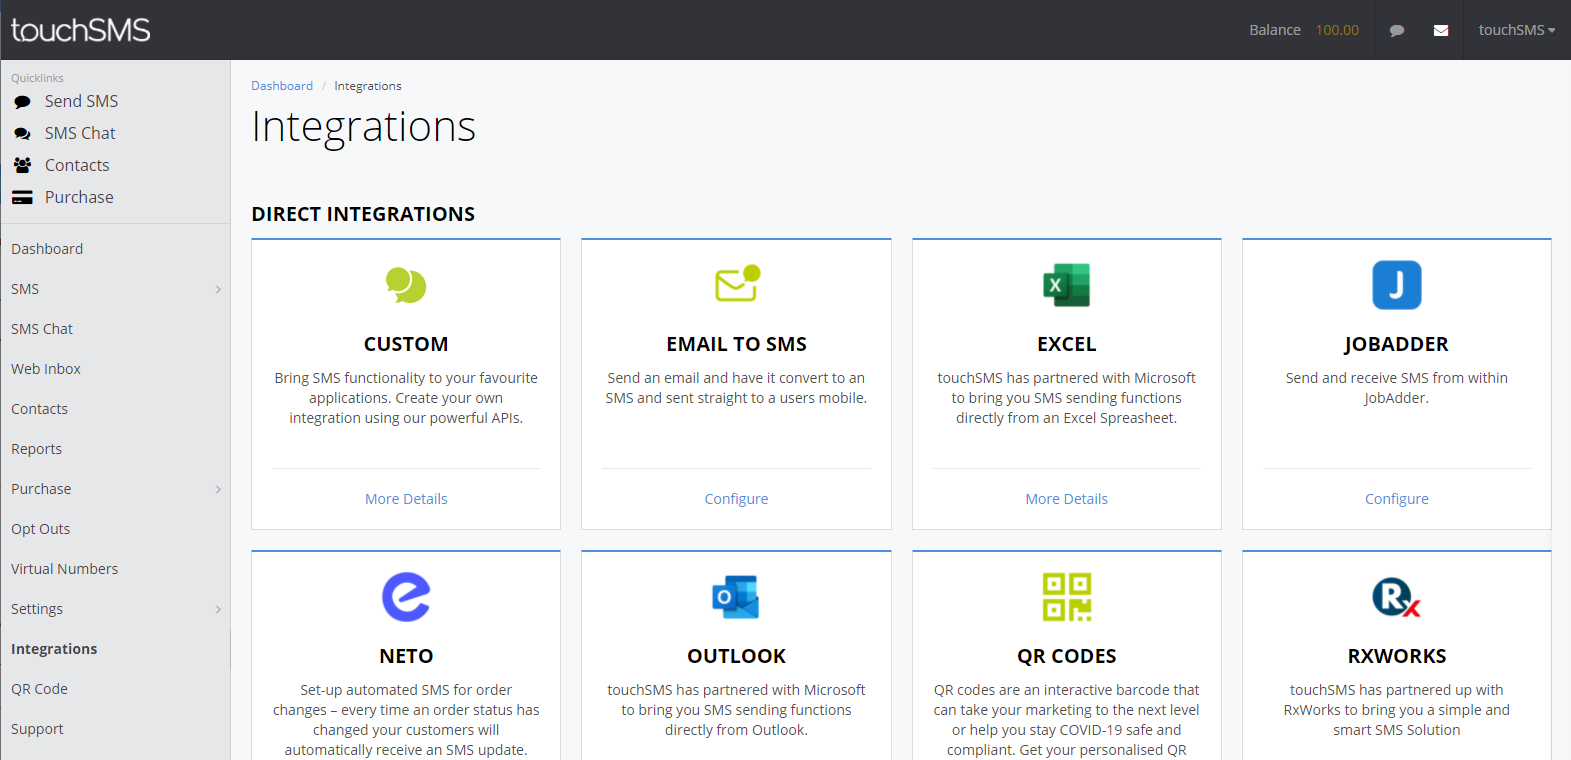
2. Click Configure for JobAdder integration – the below login screen will load
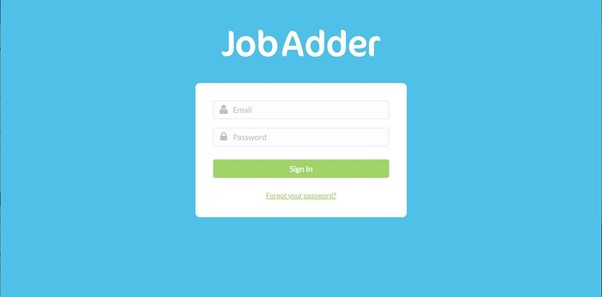
3. Enter the login details of your JobAdder profile click Sign In
4. Once connectivity between your touchSMS account and JobAdder profile is established, you will see the below confirmation screen.
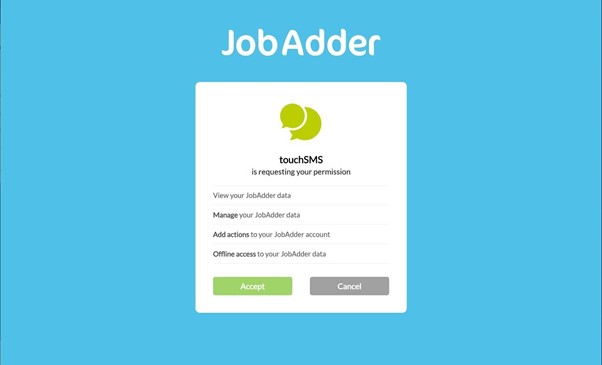
5. Click Accept to finalise the setup – you will then be redirected back into touchSMS and you should see the below confirmation
This completes the setup.
2. Sending SMS to Single Contact from List
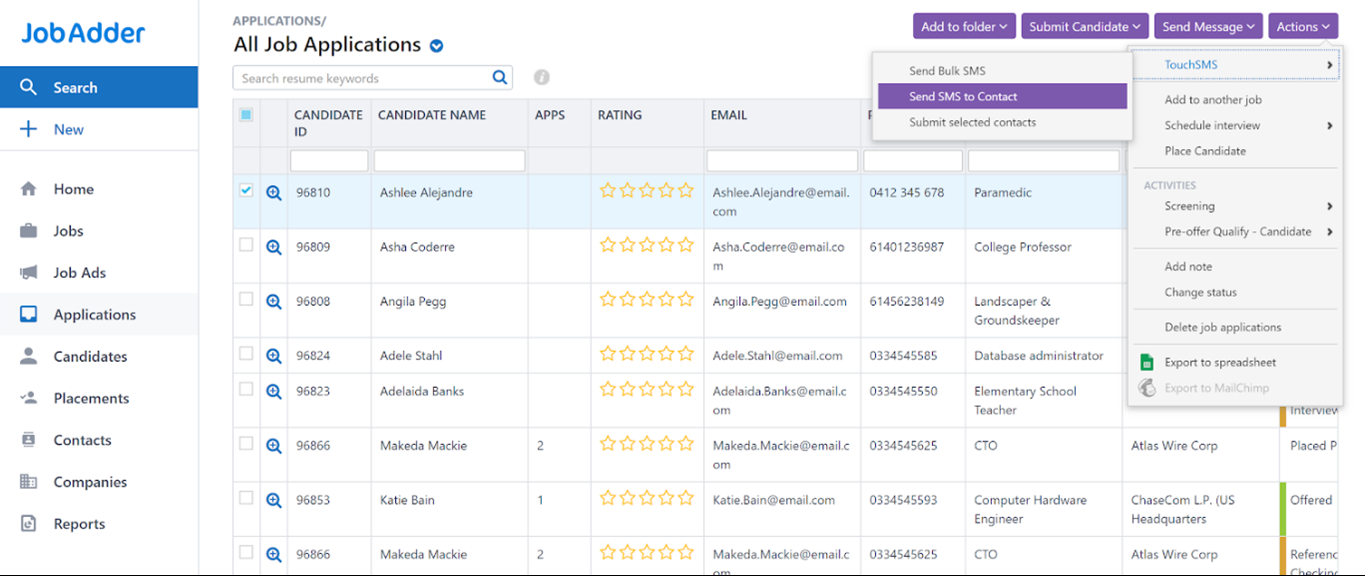
1. From a list of candidates or contacts, use the check box next to their name to select your SMS recipient.
2. Once selected, select Actions from the top-right menu > choose touchSMS. From the submenu, select Send SMS to Contact
3. This will open the touchSMS Send SMS to Contact screen.
The selected candidate’s or contact’s details will be preloaded into the sending screen.
Note; To view this recipient’s contact details, click on the View Contact link in the green campaign notification bar at the top of the sending screen.
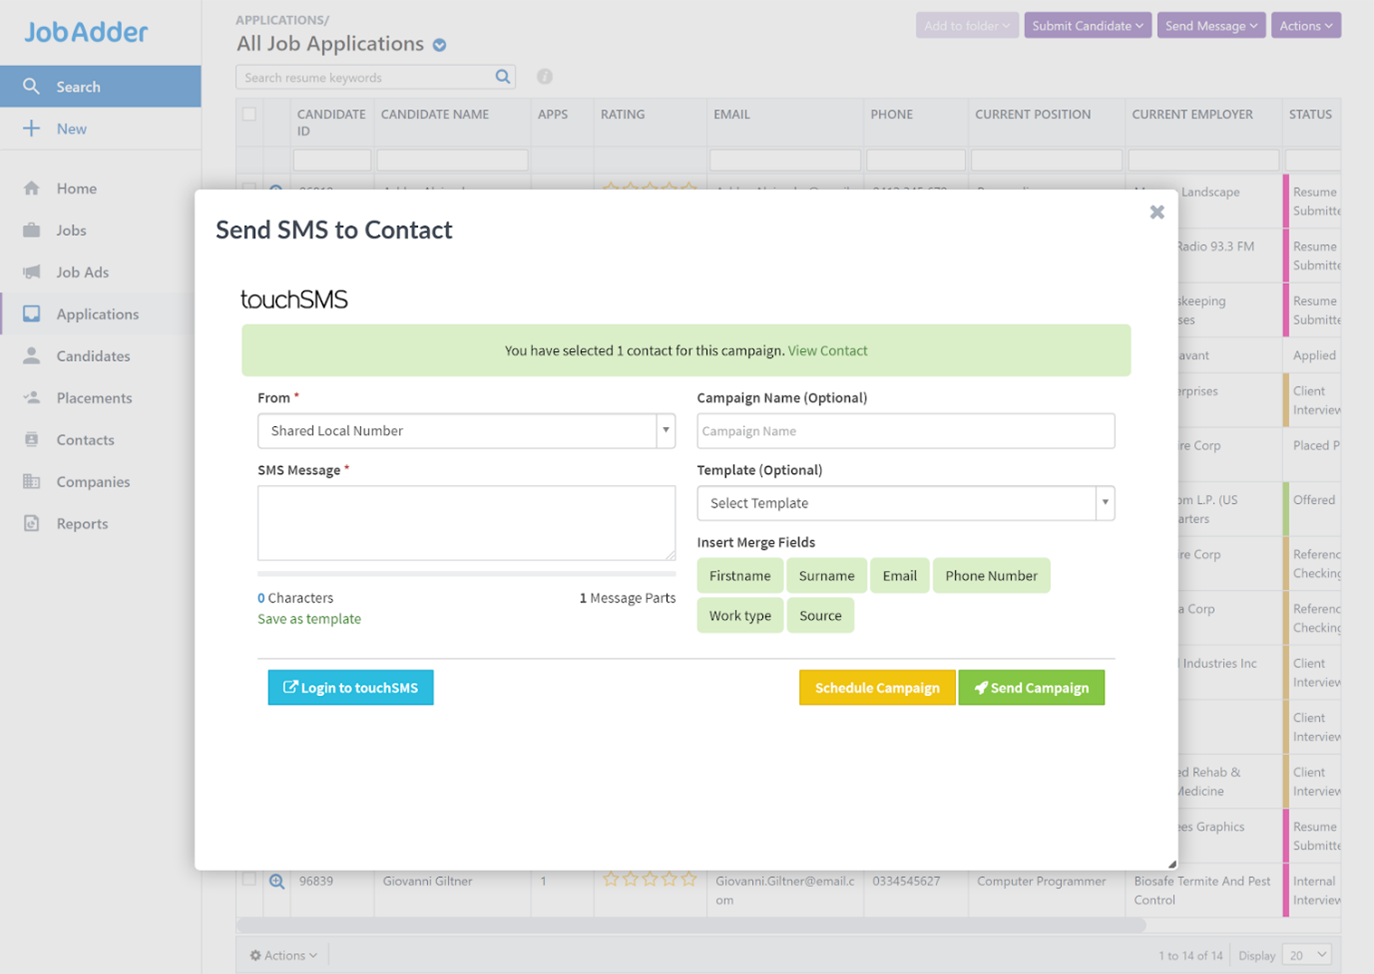
Choose to send 1-Way or 2-Way SMS by selecting an option from the From dropdown.
Note; A 1-Way SMS does not allow recipients to reply to your SMS. It replaces the sender “number” with text (known as a Sender ID). This could be your office/department name so the recipient can easily identify who has sent the message. There is an 11 character limit for Sender IDs – no spaces or symbols allowed.
A 2-Way SMS allows recipients to reply to your SMS. You can select Shared Local Number or select a Virtual Number (if you have purchased one) to allow replies.
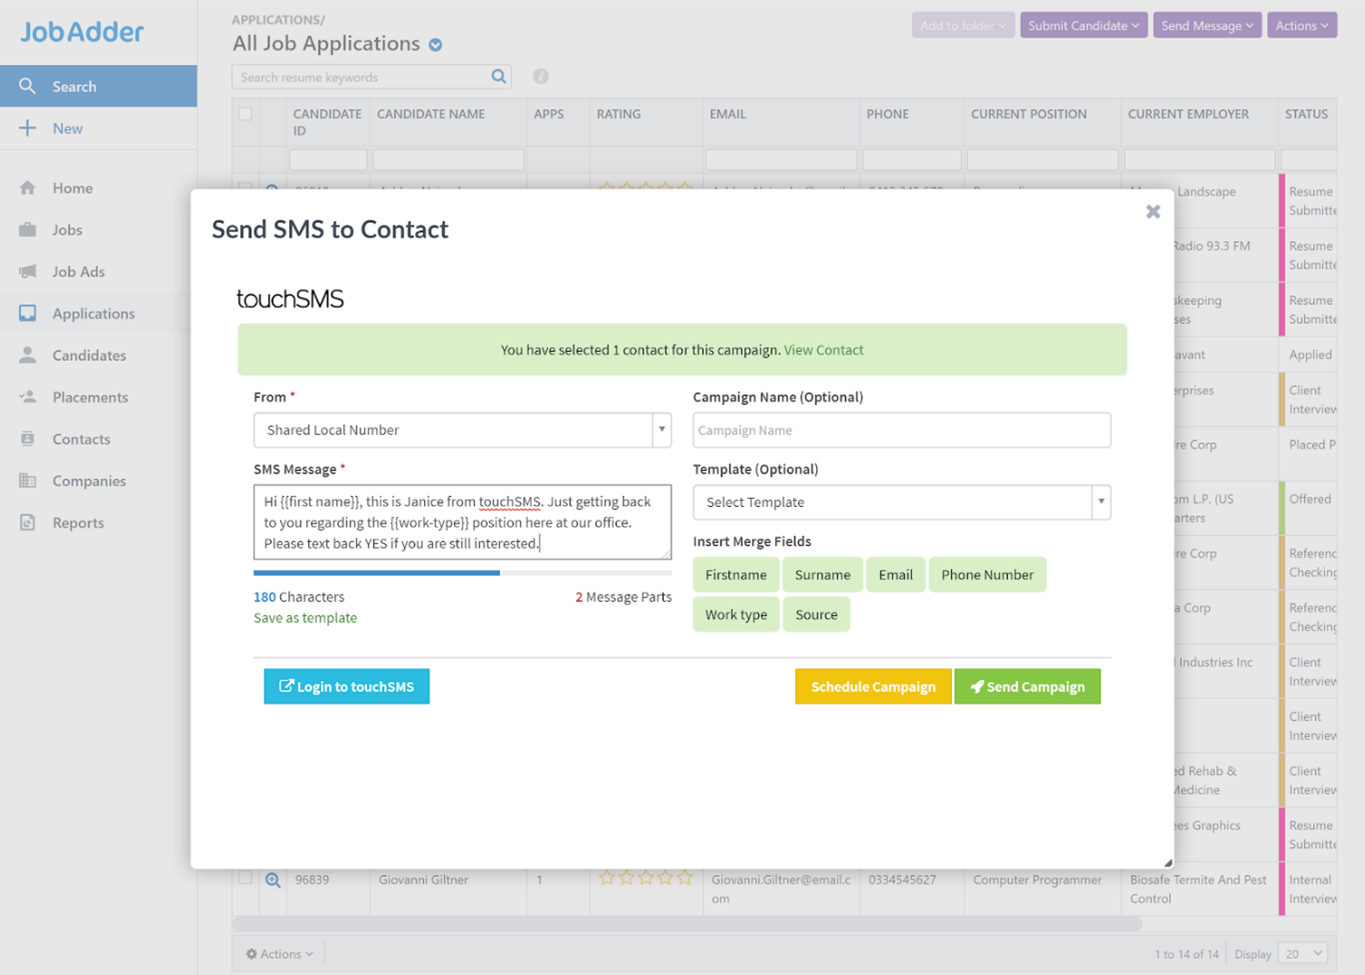
Click on the green merge field on the right (Name, Surname, Email, Phone, Work Type, Source) to include merge data in your message while composing your SMS in the SMS Message box.
Once you have composed your message, you can select to save it as a template by clicking the Save as Template link under the SMS Message box. This will appear in the Templates dropdown on the left, next time you open the touchSMS sending screen.
Choose to schedule this message for a later date/time by selecting Schedule Campaign or send immediately by clicking Send Campaign.
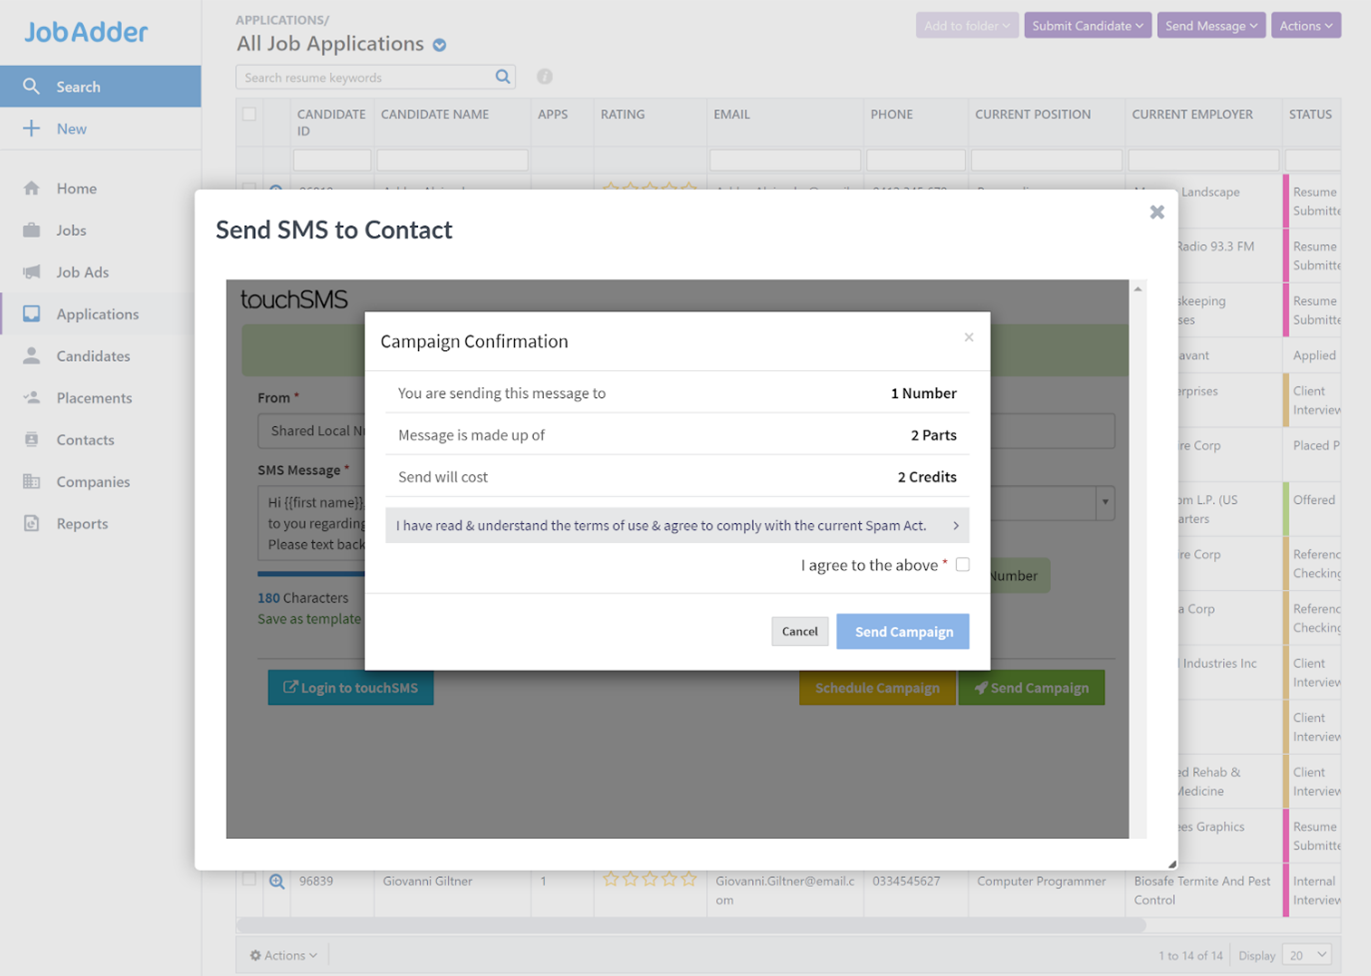
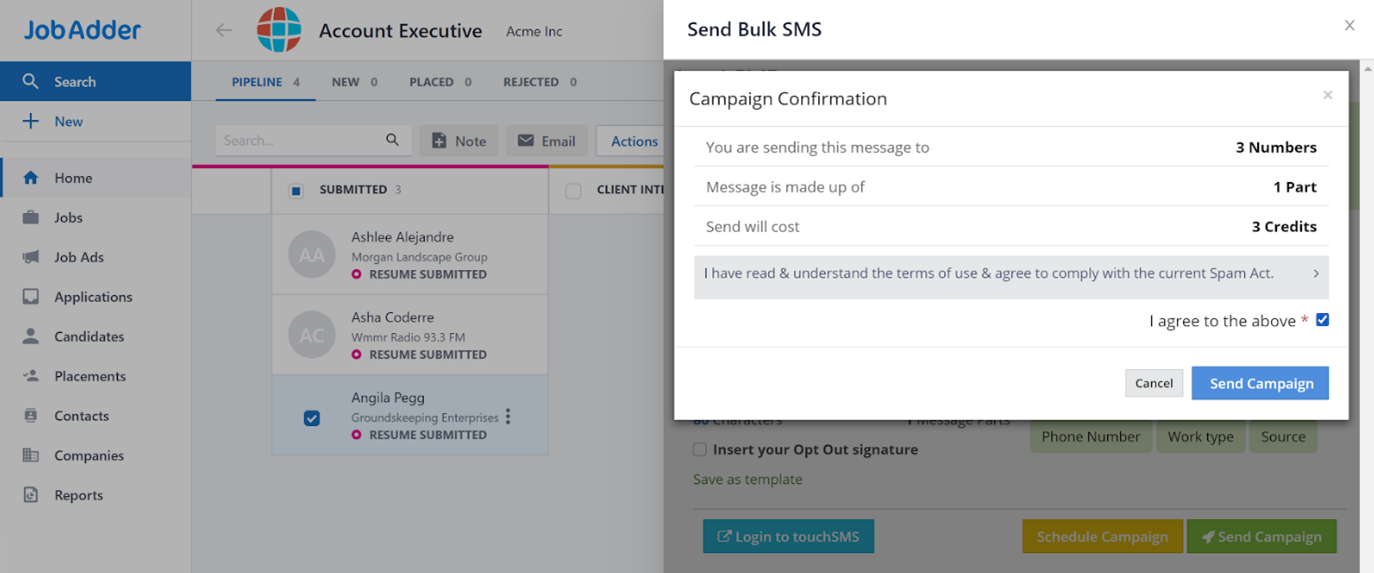
4. A campaign summary screen will appear once you have submitted your message. You will need to agree to charges and Terms and Conditions by selecting the checkbox and click Send Campaign to complete the send.
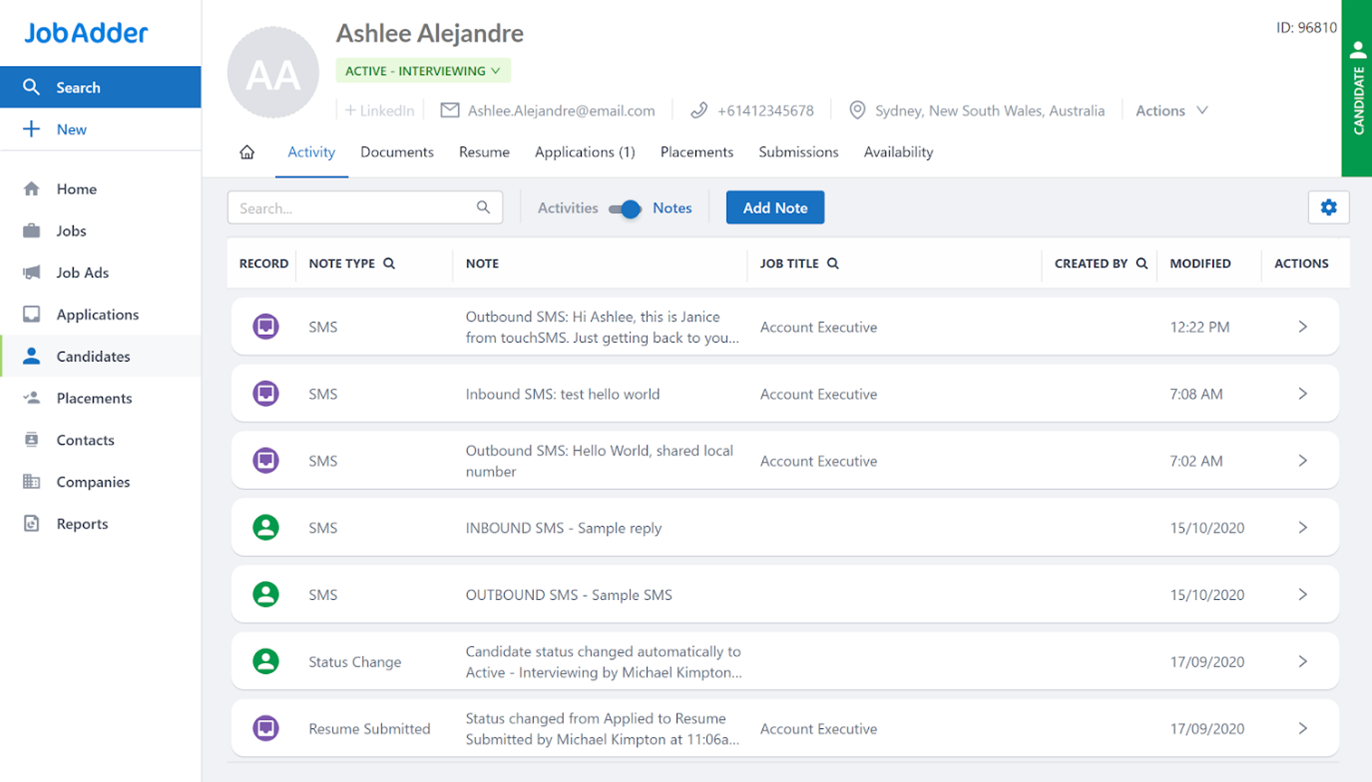
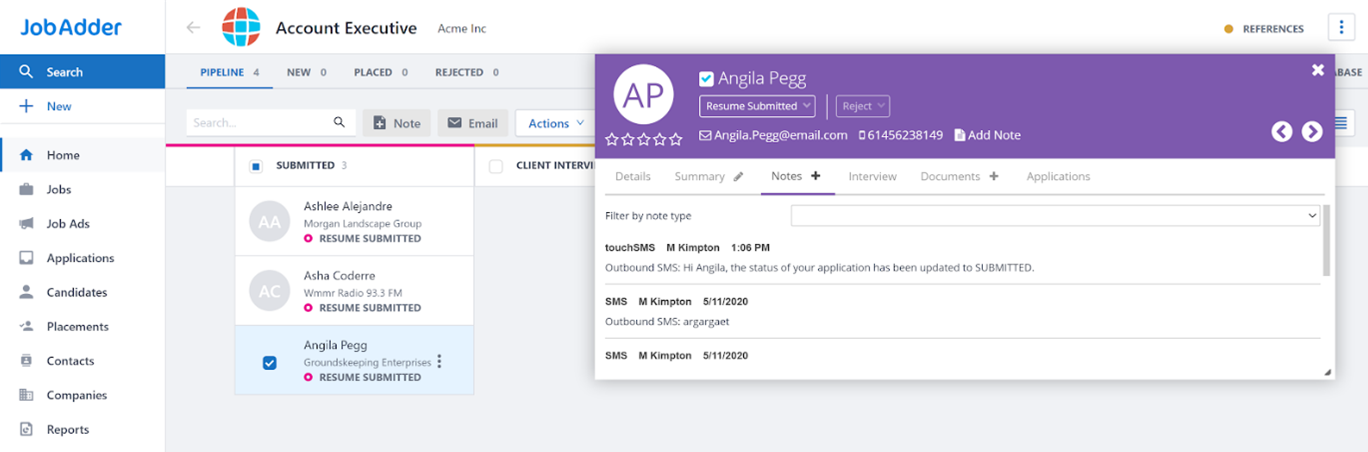
Note; Messages sent to candidates or contacts will be logged in their profile under Activity > Notes. Replies to messages sent from JobAdder will automatically be captured and recorded in the sender’s profile.
3. Sending SMS to Multiple Contacts from List
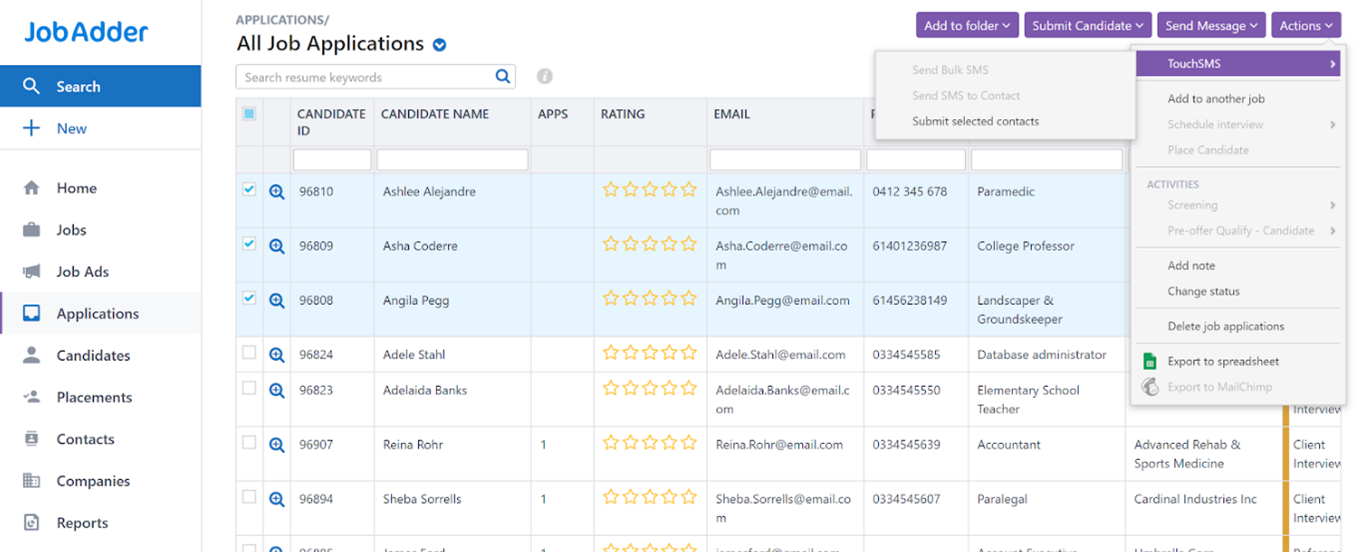
1. From a list of candidates or contacts, use the checkboxes next to their name to select any number of SMS recipients.
2. Once selected, select Actions from the top-right menu > choose touchSMS. From the submenu, select Submit Selected Contacts.
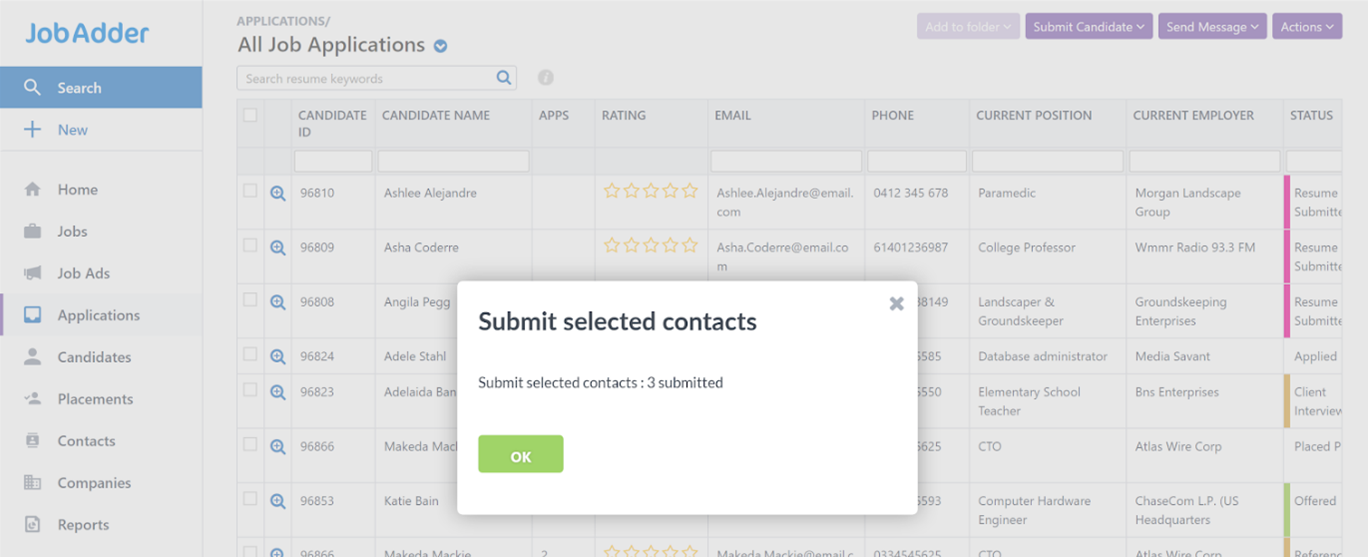
3. JobAdder will confirm the number of contacts submitted for processing by touchSMS in a pop-up. Click Ok.
4. To proceed, use the checkbox to select any contact from the list to enable the JobAdder Actions menu in the top-right menu.
Note; This contact will not be added to your sending list.
5. Select Actions from the top-right menu > choose touchSMS. From the submenu, select Send Bulk SMS.

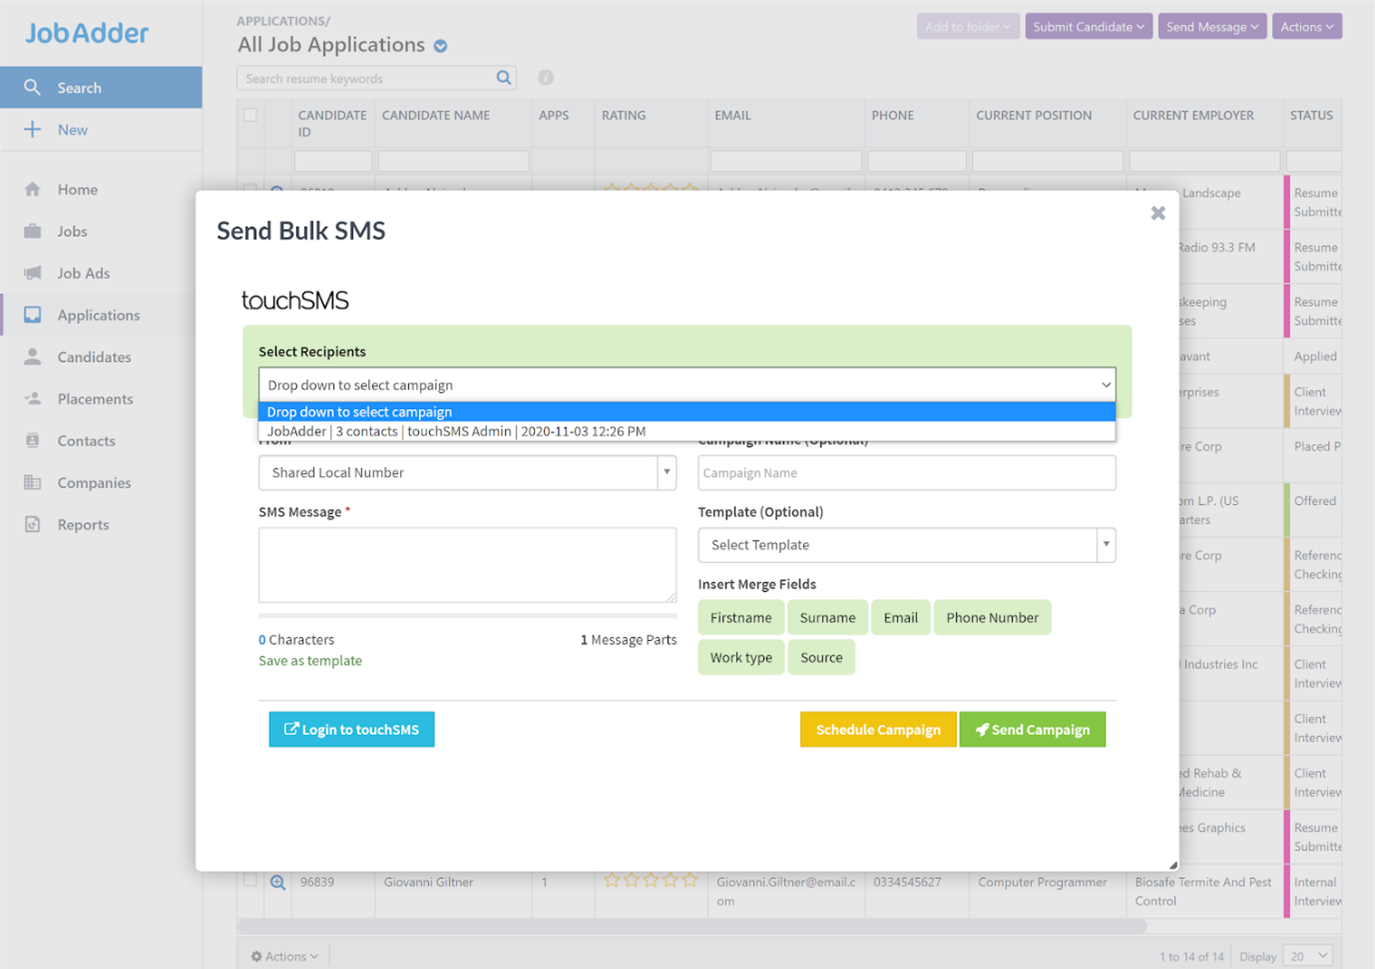
6. This will open the touchSMS Send Bulk SMS screen.
Use the Select Recipients drop-down in the green notification bar to select the group of recipients you wish to send to.
Note; These were submitted and pre-loaded in steps 1, 2 and 3.
Campaigns are labelled according to the number of recipients selected and the time submitted for sending. Once sent, the campaign listing in this drop-down will disappear.
Once you have selected a campaign, you can view the included recipient by clicking on View Contact under the dropdown.
Note; Clicking Clear Campaign will erase the selected batch of recipients.
Choose to send 1-Way or 2-Way SMS by selecting an option from the From dropdown.
Note; A 1-Way SMS does not allow recipients to reply to your SMS. It replaces the sender “number” with text (known as a Sender ID). This could be your office/department name so the recipient can easily identify who has sent the message. There is an 11 character limit for Sender IDs – no spaces or symbols allowed.
A 2-Way SMS allows recipients to reply to your SMS. You can select Shared Local Number or select a Virtual Number (if you have purchased one) to allow replies.

Click on the green merge field on the right (Name, Surname, Email, Phone, Work Type, Source) to include merge data in your message while composing your SMS in the SMS Message box.
Once you have composed your message, you can select to save it as a template by clicking the Save as Template link under the SMS Message box. This will appear in the Templates dropdown on the left, next time you open the touchSMS sending screen.
Choose to schedule this message for a later date/time by selecting Schedule Campaign or send immediately by clicking Send Campaign.
7. A campaign summary screen will appear once you have submitted your message. You will need to agree to charges and Terms and Conditions by selecting the checkbox and click Send Campaign to complete the send.

Note; Messages sent to candidates or contacts will be logged in their profile under Activity > Notes. Replies to messages sent from JobAdder will automatically be captured and recorded in the sender’s profile.
4. Sending SMS to Single Contact from Workflow
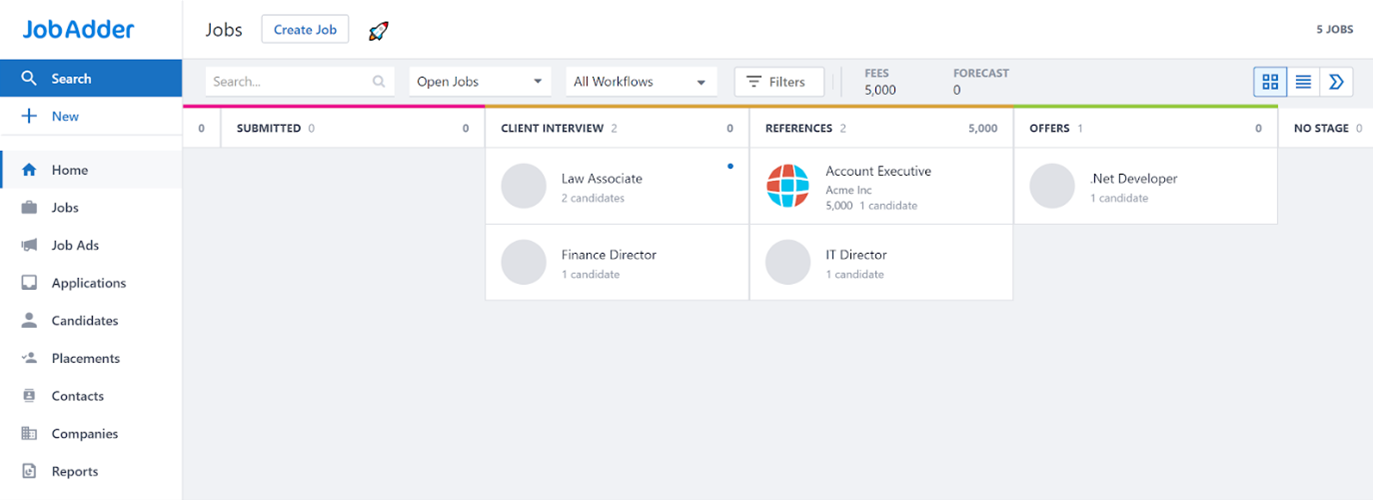
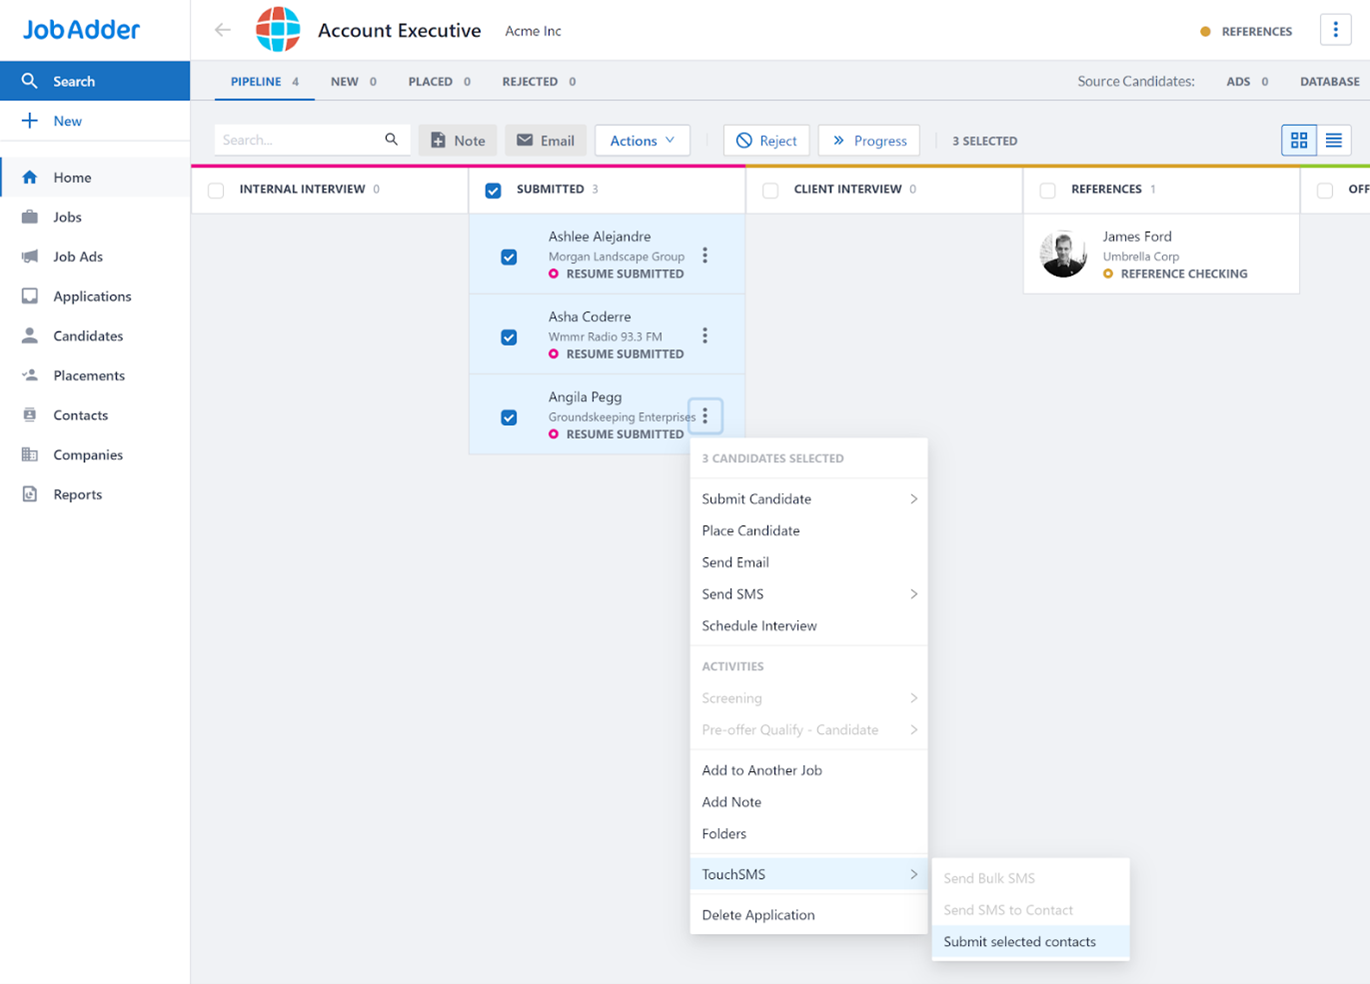
1. From the home page workflow, navigate and select the Job phase you require.

2. Click on the checkbox next to candidate name to select them for SMS
3. Click on the three dots to expand the action menu > select touchSMS > Send SMS to contact.
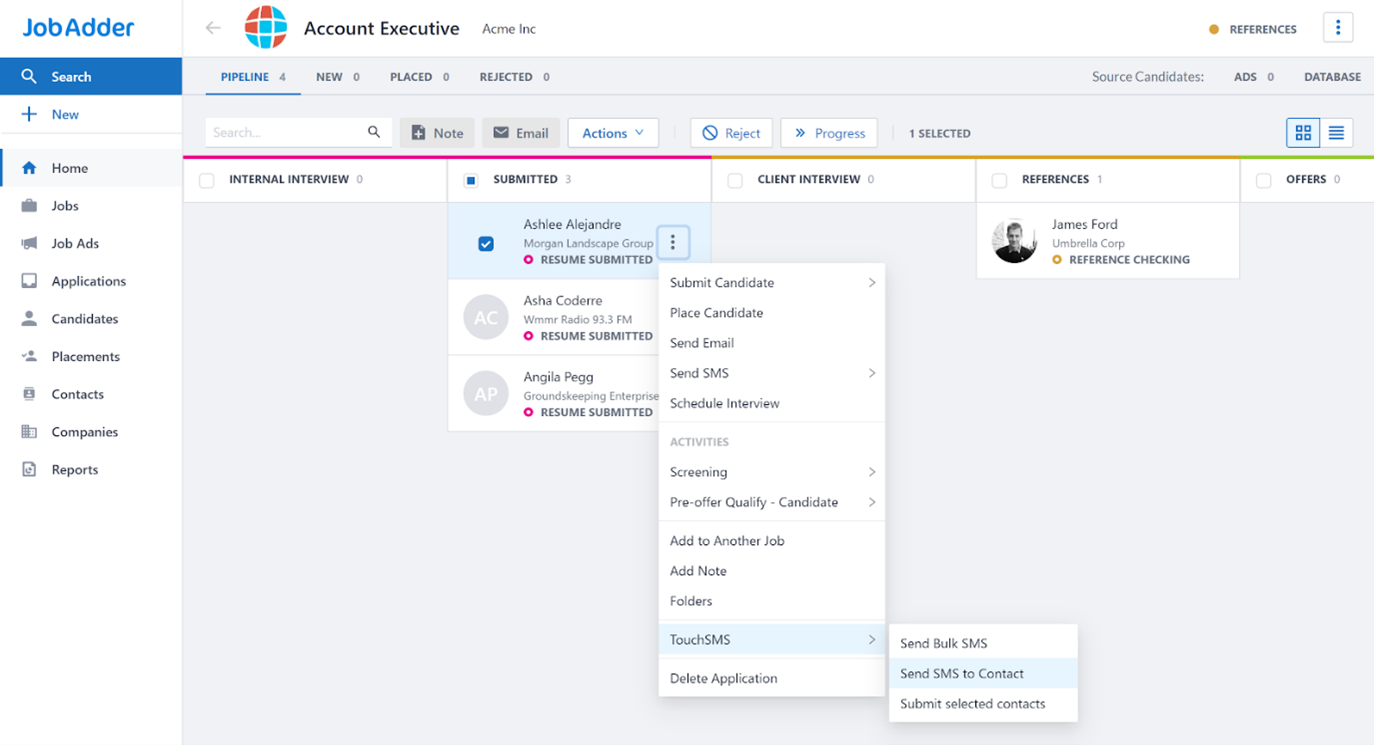
4. The Send SMS to Contact screen will pop out from the right onscreen.
The selected candidate’s or contact’s details will be preloaded into the sending screen.
Note; To view this recipient’s contact details, click on the View Contact link in the green campaign notification bar at the top of the sending screen.

Choose to send 1-Way or 2-Way SMS by selecting an option from the From dropdown.
Note; A 1-Way SMS does not allow recipients to reply to your SMS. It replaces the sender “number” with text (known as a Sender ID). This could be your office/department name so the recipient can easily identify who has sent the message. There is an 11 character limit for Sender IDs – no spaces or symbols allowed.
A 2-Way SMS allows recipients to reply to your SMS. You can select Shared Local Number or select a Virtual Number (if you have purchased one) to allow replies.

Click on the green merge field on the right (Name, Surname, Email, Phone, Work Type, Source) to include merge data in your message while composing your SMS in the SMS Message box.
Once you have composed your message, you can select to save it as a template by clicking the Save as Template link under the SMS Message box. This will appear in the Templates dropdown on the left, next time you open the touchSMS sending screen.
Choose to schedule this message for a later date/time by selecting Schedule Campaign or send immediately by clicking Send Campaign.
5. A campaign summary screen will appear once you have submitted your message. You will need to agree to charges and Terms and Conditions by selecting the checkbox and click Send Campaign to complete the send.
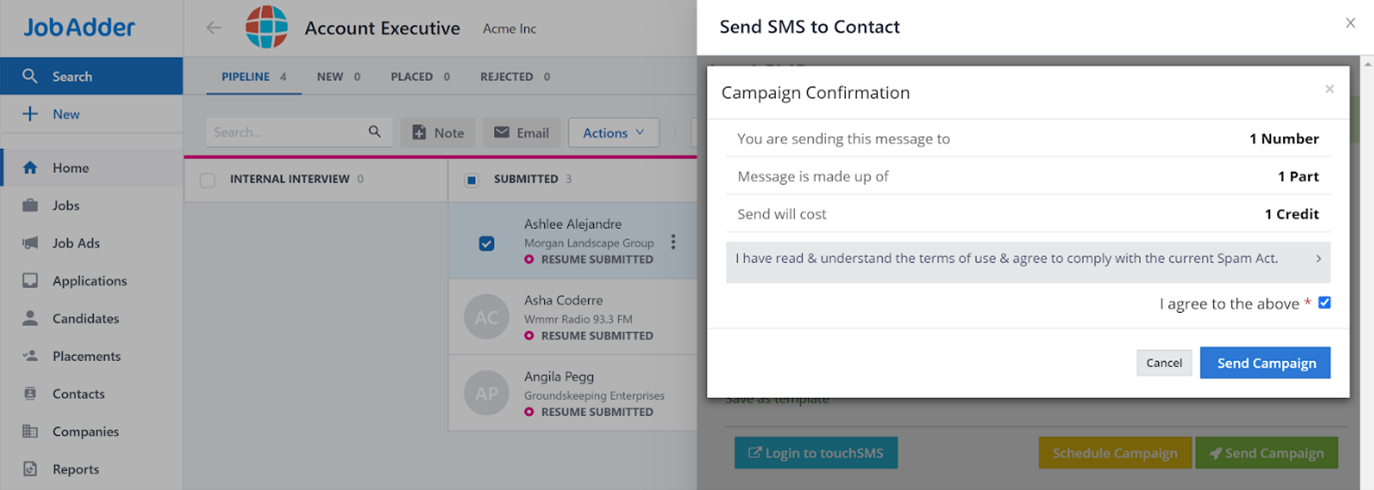
Note; Messages sent to candidates or contacts will be logged in their profile under Activity > Notes. Replies to messages sent from JobAdder will automatically be captured and recorded in the sender’s profile.

5. Sending SMS to Multiple Contacts from Workflow
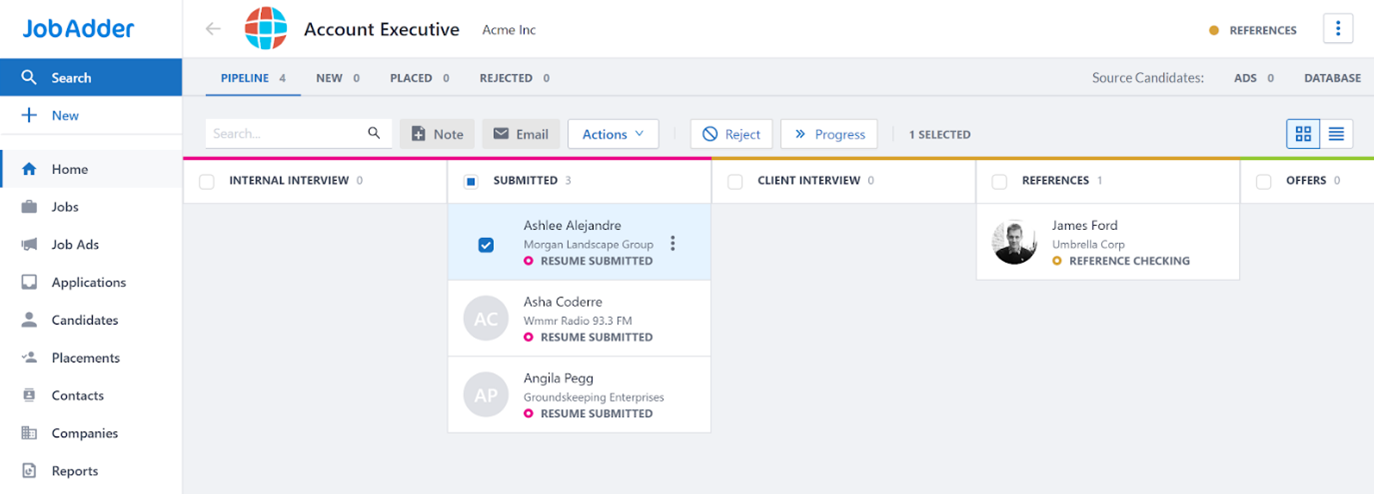
1. From the home page workflow, navigate and select the Job phase you require.
2. Click on the checkbox next to candidates or contacts name to select them for SMS. You can select multiple candidates or contacts.
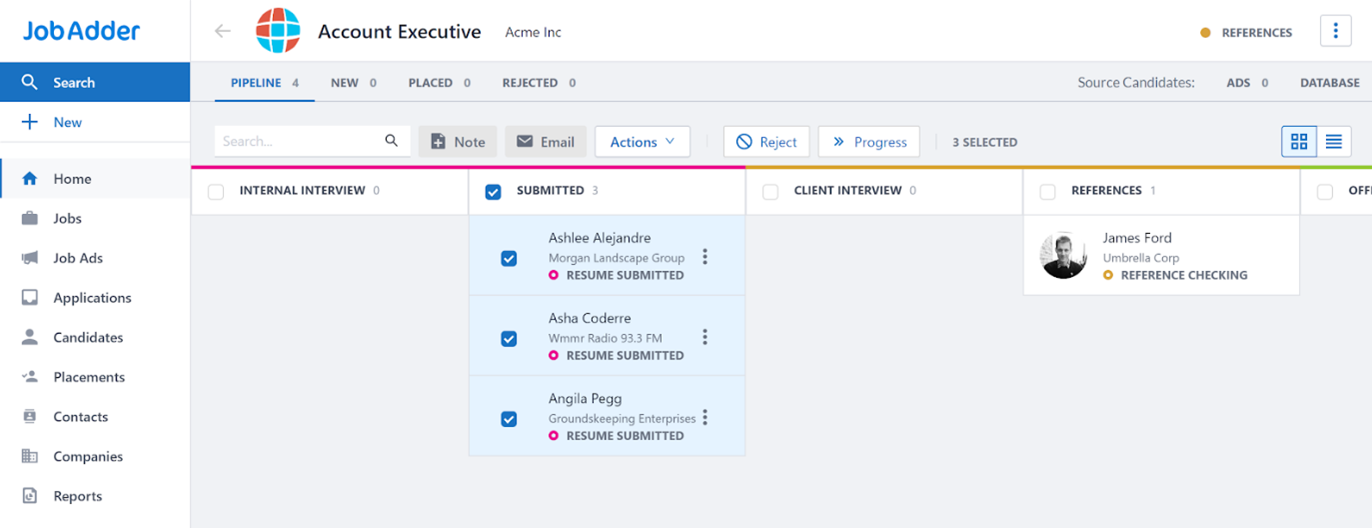
3. Click on the three dots to expand the action menu > select touchSMS > Submit selected Contacts.
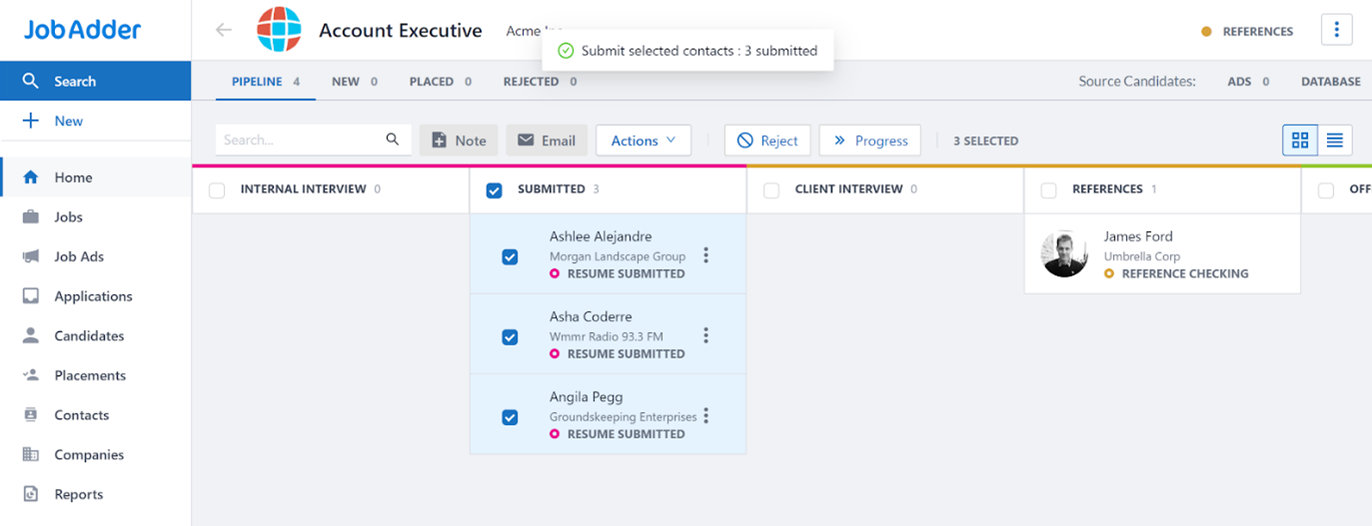
4. JobAdder will confirm the number of contacts submitted for processing by touchSMS in a pop up at the top of the screen.
5. To proceed, deselect all but ONE of the selected contacts from the list to enable the JobAdder Actions. Click on the three dots to expand the Action menu > select touchSMS > Send Bulk SMS.

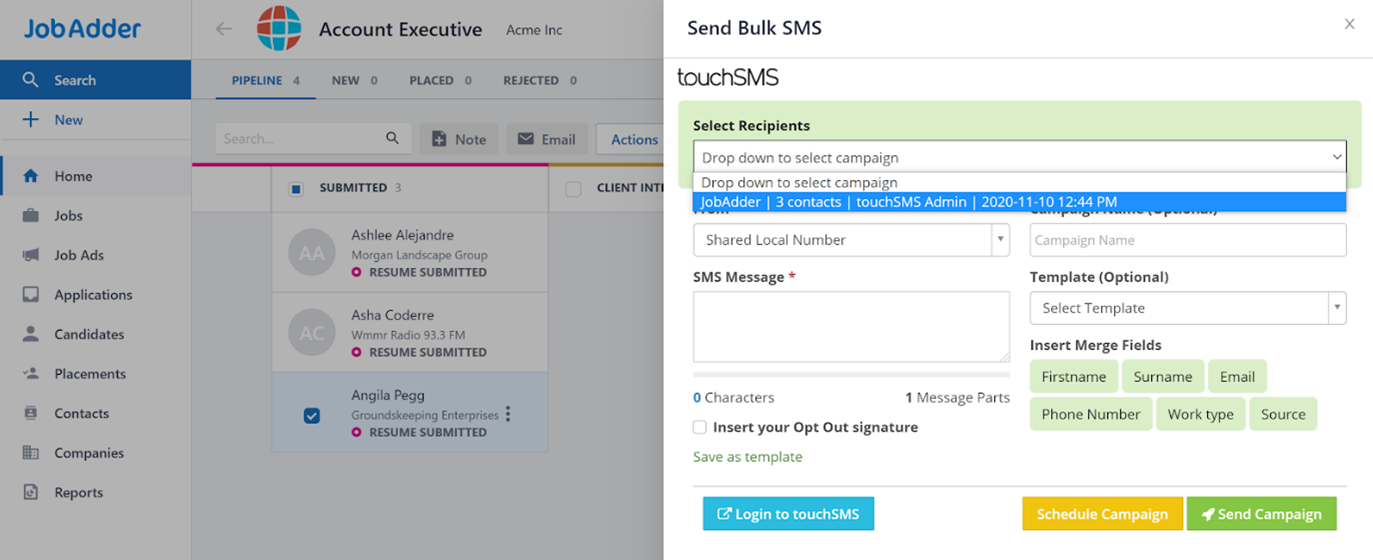
6. The Send Bulk SMS screen will pop out from the right onscreen.
Use the Select Recipients drop-down in the green notification bar to select the group of recipients you wish to send to.
Note; These were submitted and pre-loaded in steps 1, 2, 3 and 4.
Campaigns are labelled according to the number of recipients selected and the time submitted for sending. Once sent, the campaign listing in this drop-down will disappear.
Once you have selected a campaign, you can view the included recipient by clicking on View Contact under the dropdown.
Note; Clicking Clear Campaign will erase the selected batch of recipients.
Choose to send 1-Way or 2-Way SMS by selecting an option from the From dropdown.
Note; A 1-Way SMS does not allow recipients to reply to your SMS. It replaces the sender “number” with text (known as a Sender ID). This could be your office/department name so the recipient can easily identify who has sent the message. There is an 11 character limit for Sender IDs – no spaces or symbols allowed.
A 2-Way SMS allows recipients to reply to your SMS. You can select Shared Local Number or select a Virtual Number (if you have purchased one) to allow replies.
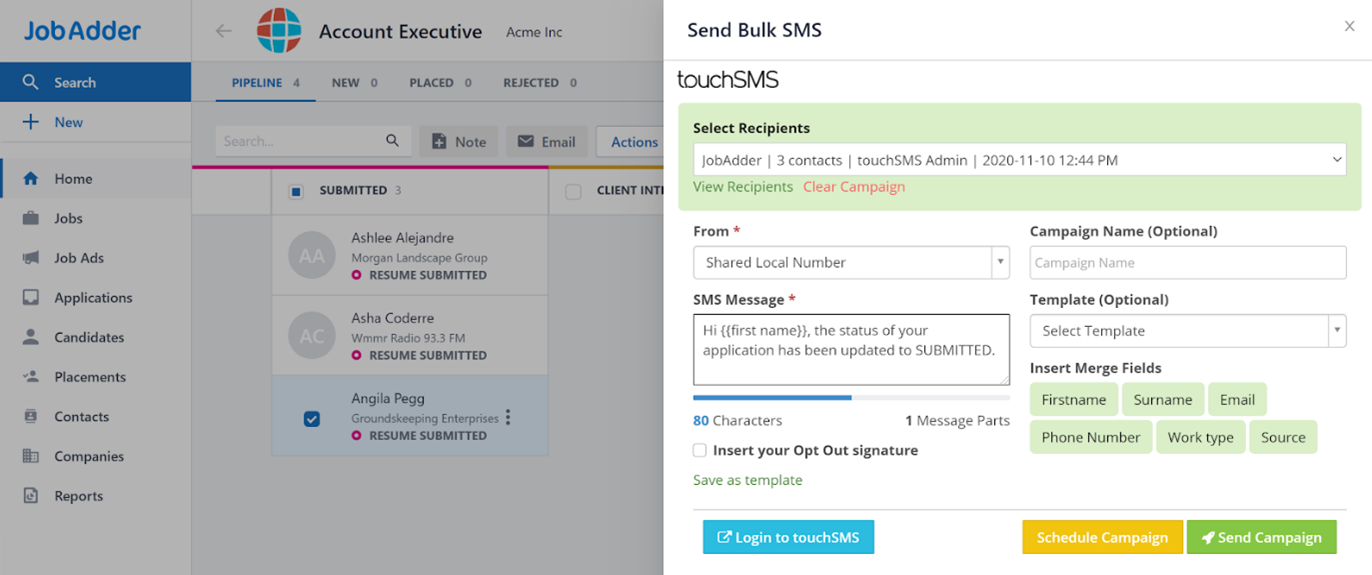
Click on the green merge field on the right (Name, Surname, Email, Phone, Work Type, Source) to include merge data in your message while composing your SMS in the SMS Message box.
Once you have composed your message, you can select to save it as a template by clicking the Save as Template link under the SMS Message box. This will appear in the Templates dropdown on the left, next time you open the touchSMS sending screen.
Choose to schedule this message for a later date/time by selecting Schedule Campaign or send immediately by clicking Send Campaign.
7. A campaign summary screen will appear once you have submitted your message. You will need to agree to charges and Terms and Conditions by selecting the checkbox and click Send Campaign to complete the send.
Note; Messages sent to candidates or contacts will be logged in their profile under Activity > Notes. Replies to messages sent from JobAdder will automatically be captured and recorded in the sender’s profile.
Troubleshooting
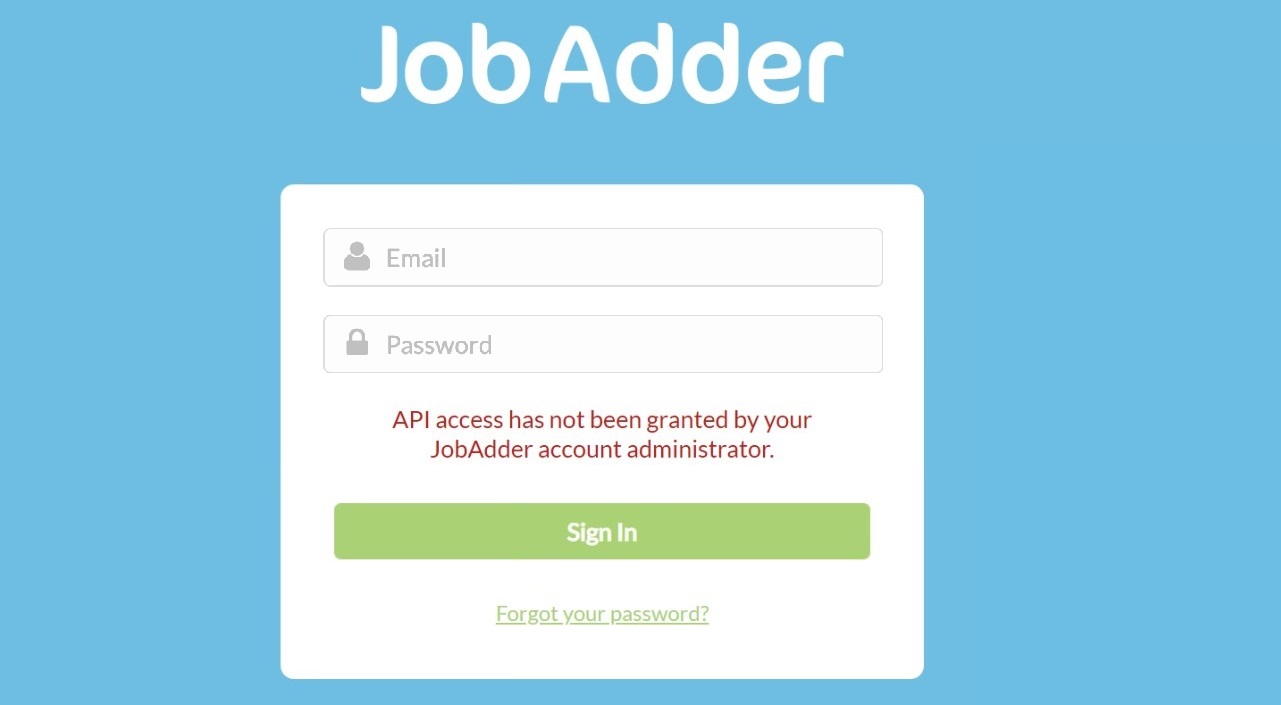
API error when connecting touchSMS to JobAdder
In order to ensure users are able to utilise the touchSMS and JobAdder integration, all users will need to ensure they have API access granted on the JobAdder platform.
To do this, simply get your JobAdder admin to navigate to the ‘Admin’ settings under ‘Account’.
Within the admin settings, click on ‘Users’ under general settings. You will then need to go into each user who will need access to the JobAdder integration and then ensure ‘Grant API access to integration partners’ is switched on.
This will then allow users to connect to their touchSMS + JobAdder Integration.
FAQ’s
What pricing & payment options are available?
touchSMS is designed to be a self-service prepaid platform. There are no sign-up or monthly account fees. touchSMS pricing is AUD and GST inclusive. Payment is accepted via credit card (Visa and Mastercard) or Paypal.
| SMS Credits | 5c* |
| Virtual Number Monthly Rental | $15.00.( Australia Only.) |
| *SMS credits 12-month expiry from purchase date |
Sending SMS to NZ, is charged at 2 SMS credits. For further information on international pricing and routes contact the touchSMS Support Team.
What are the minimum purchase requirements?
The minimum purchase of credits on touchSMS is 400 Credits = $20.00 AUD.
All prices including GST. Credits valid for 12 months from the date of purchase.
Is there any additional cost for two way communication?
NO, touchSMS does not charge you for replies to your SMS (Inbound SMS).
If a contact or candidate replies to my SMS, what happens?
Replies to messages sent from JobAdder will automatically populate the Notes area of the candidate/ contact profile. The message will be tagged as an “Inbound SMS” in Notes. You will also be sent an email notification (to the email address registered to touchSMS) alerting you of the received message.
Can I see a report of all SMS sent from JobAdder?
All messages sent and received using your touchSMS integration in JobAdder are logged in your touchSMS reports. To access these, log in to touchSMS and navigate to Reports.
What happens if I run out of SMS credits when I want to send?
If you have run out of SMS credits, you will be notified on-screen when you attempt to submit a message. To avoid running out of credits, set up auto top-up be navigating to Purchase > Auto Top-Up